LFS Project Configuration
You can use the LFS Project Configuration custom setting to enable and disable some of the features and some other settings for the Project, View Question, and Retrieve Answer user interface.
You can configure the setting for the user, profile, or organization level as per your business needs. The application takes the preceding in the following order:
User Level Setting
Profile Level Setting
Organization Level Setting
For example, if you have configured custom settings at both the User and Organization levels, the application will first consider the User Level setting before checking the Organization Level setting for any settings that have not been configured at the User Level.
To configure the Organization Level project setting
Go to Setup > Search and select Custom Settings.
Click Manage action for the LFS Project Configuration.
Click the New button for the first time configuration or click the Edit button if you want to update the already configured setting.
Select or enter the value for the following settings as per your business needs and click the Save button.
Setting | Description |
|---|---|
Focused View | Check this checkbox to set the default selection to the Assigned to Me option. This is where the Assignee and Reviewer users see the number of questions assigned to them, when they go to the View Questions page. For more information, see Project Question List. |
Focused View for Owner | Check this checkbox to set the default selection to the Assigned to Me option. This is where Project Owner users see the number of questions assigned to them, when they go to the View Questions page. For more information, see Project Question List. |
Disable Chatter | Check this checkbox to disable the Chatter tab on the View Questions page. For more information, see Library Search in View Questions. |
Compliances Placement | Enter Above or Below to place the compliances above or below the answer field on the View Questions page. For more information, see Project Question Details. |
Disable Tables View | Check this checkbox to disable the Tables view selection on the View Questions page. The user doesn’t see any of the buttons (Grid View and Tables View) on the View Question page. For more information, see Summary and Page Actions. |
Question Community URL | If you use Community, add your Community URL for which you use LFS. This helps you to navigate to community user View Questions page from email notifications. |
Reviewer Reminder Days | This is no longer used. (Deprecated) |
Editor Word Count Config | Enter Words, Characters, or Characters & Words to display the total number of Words and/or Characters (to track the length of the answer) at the end of the answer field on the View Questions page. For more information, see Project Question Details. |
Recall Approvals | Check this checkbox to display the Recall button for the Assignee on the Project Questions > Project Question Details (middle section). This button can be used when the assignee has already added the answer, saved it, and submitted it for review, and the assignee wants to update the answer and send for review again. |
Question Select Delay (ms) | Set the delay (in Milliseconds) for question selection on the View Questions page. Loopio recommends setting it to 500, but you can change it to meet your specific business needs. |
Disable RichText Mode | Check this checkbox to disable the default selection of the View Question as Richtext button (to display questions in rich text format or normal text format) on the View Questions page. For more information, see Summary and Page Actions. |
Hide Score Threshold Slider | Check this checkbox to disable the Score Threshold slider on the Retrieve Answers page. For more information, see Auto Retrieval 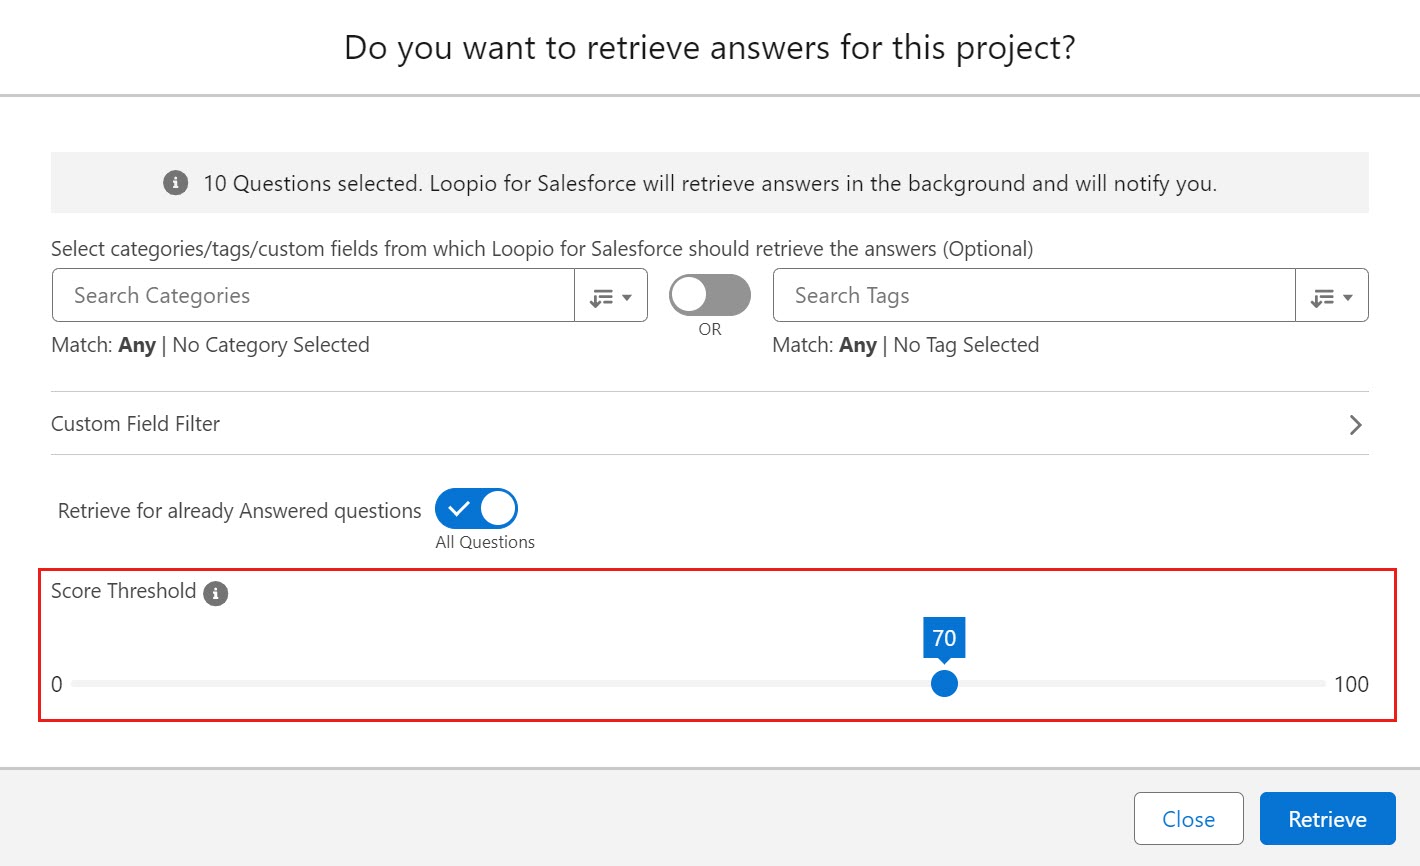 Click to enlarge |
Enable Undo in LFS Editor | Check this checkbox to enable the Undo option in the LFS Editor on the View Questions page. 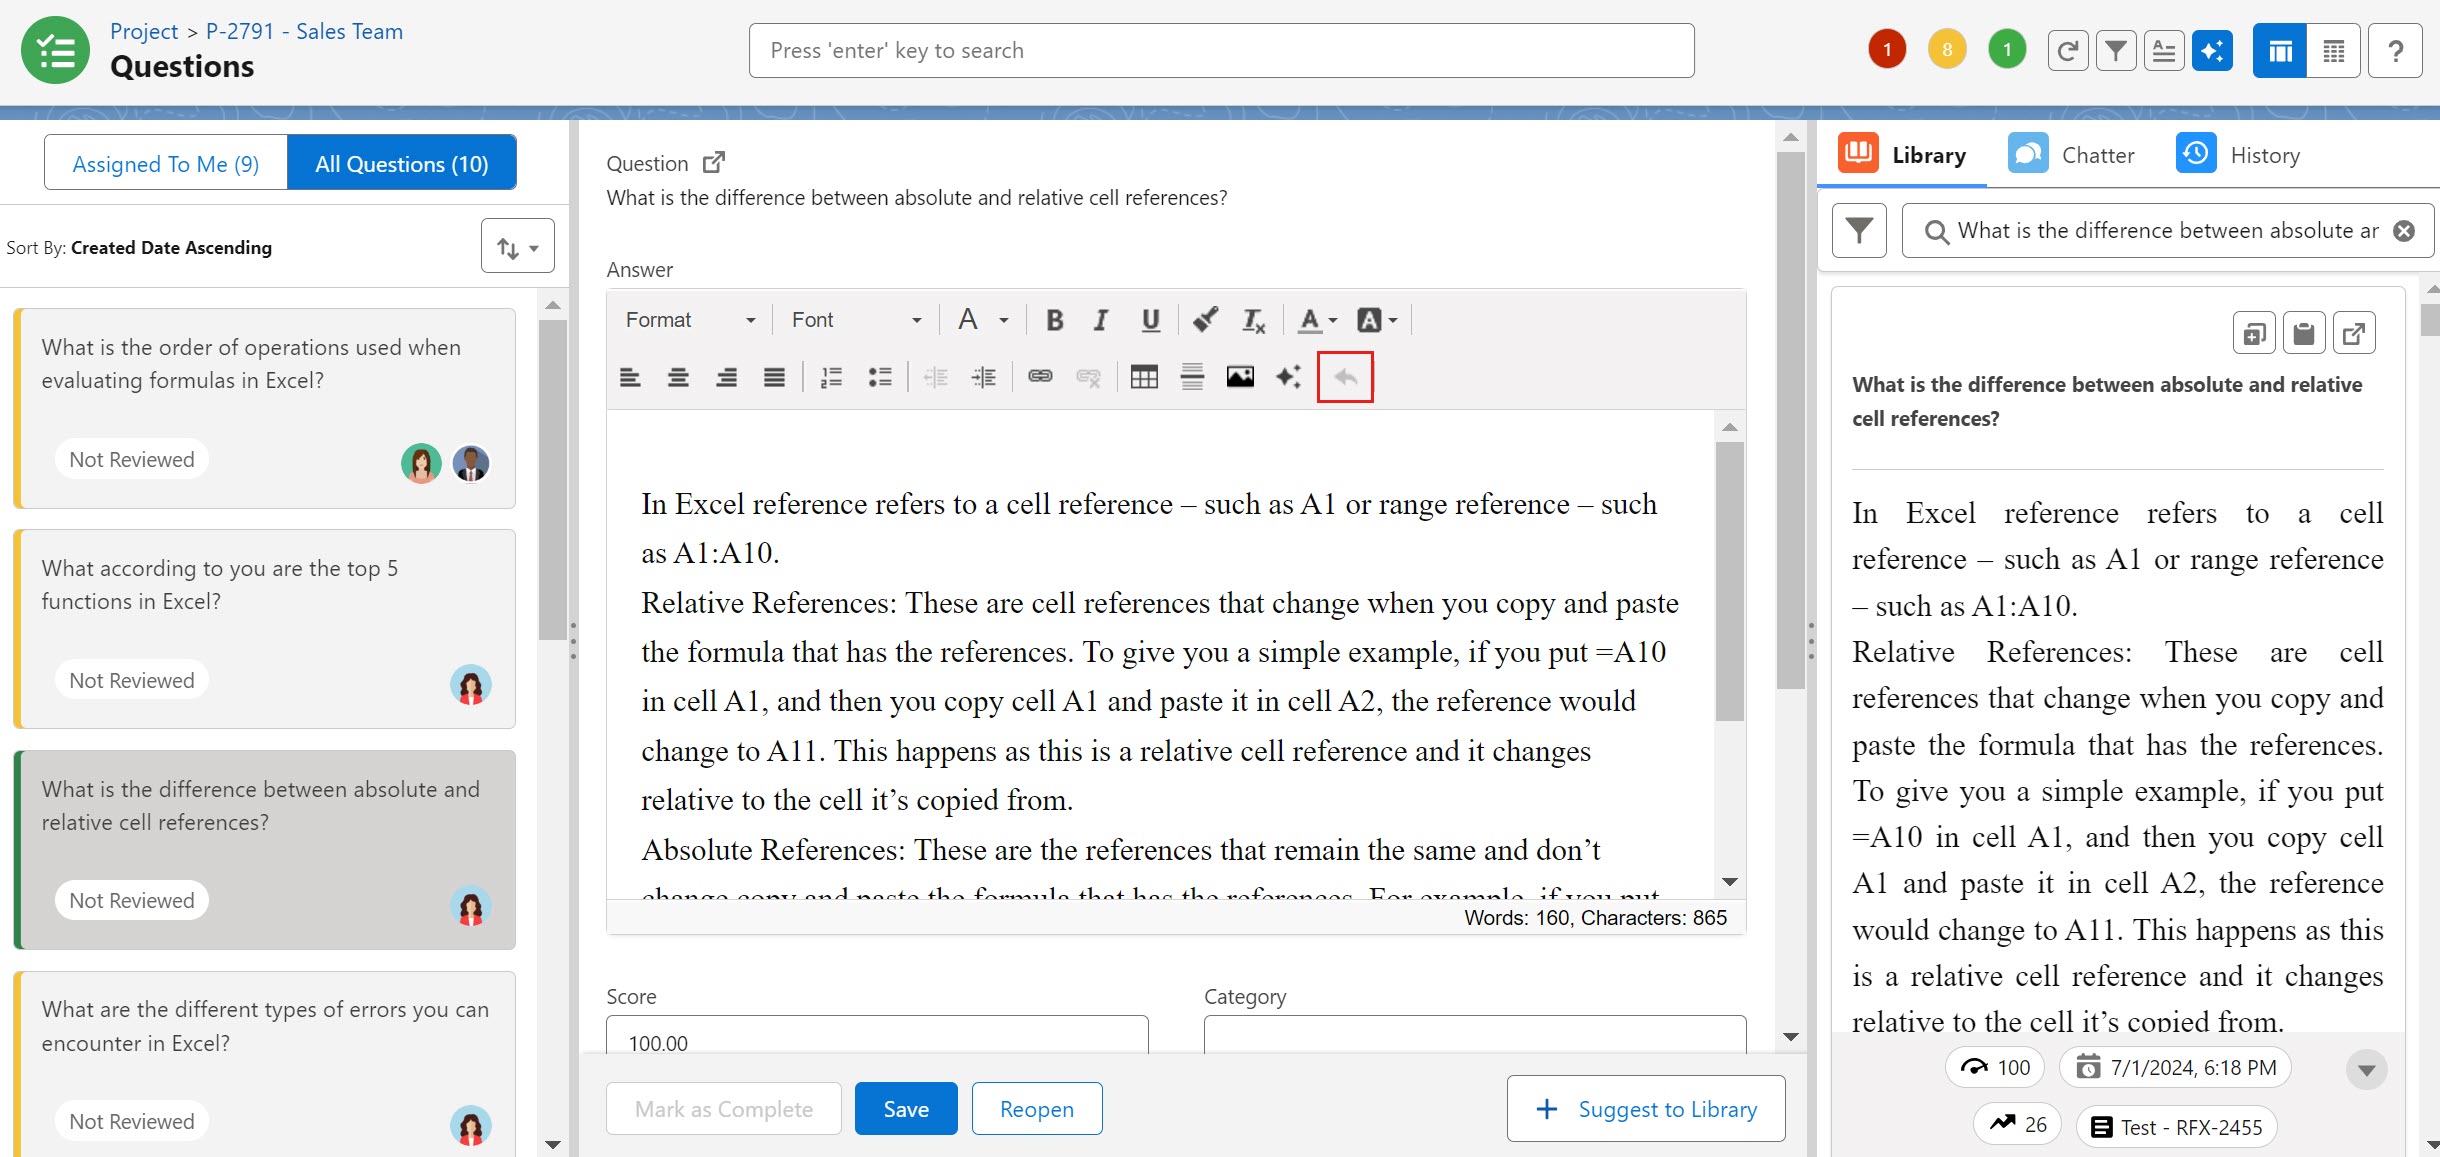 Click to enlarge |
Enable Review from Project Advanced Mode | Check this box to display the Alternative Answer checkbox on the Reviews from Project page, allowing the user to add an Alternative Answer for the specific Response. 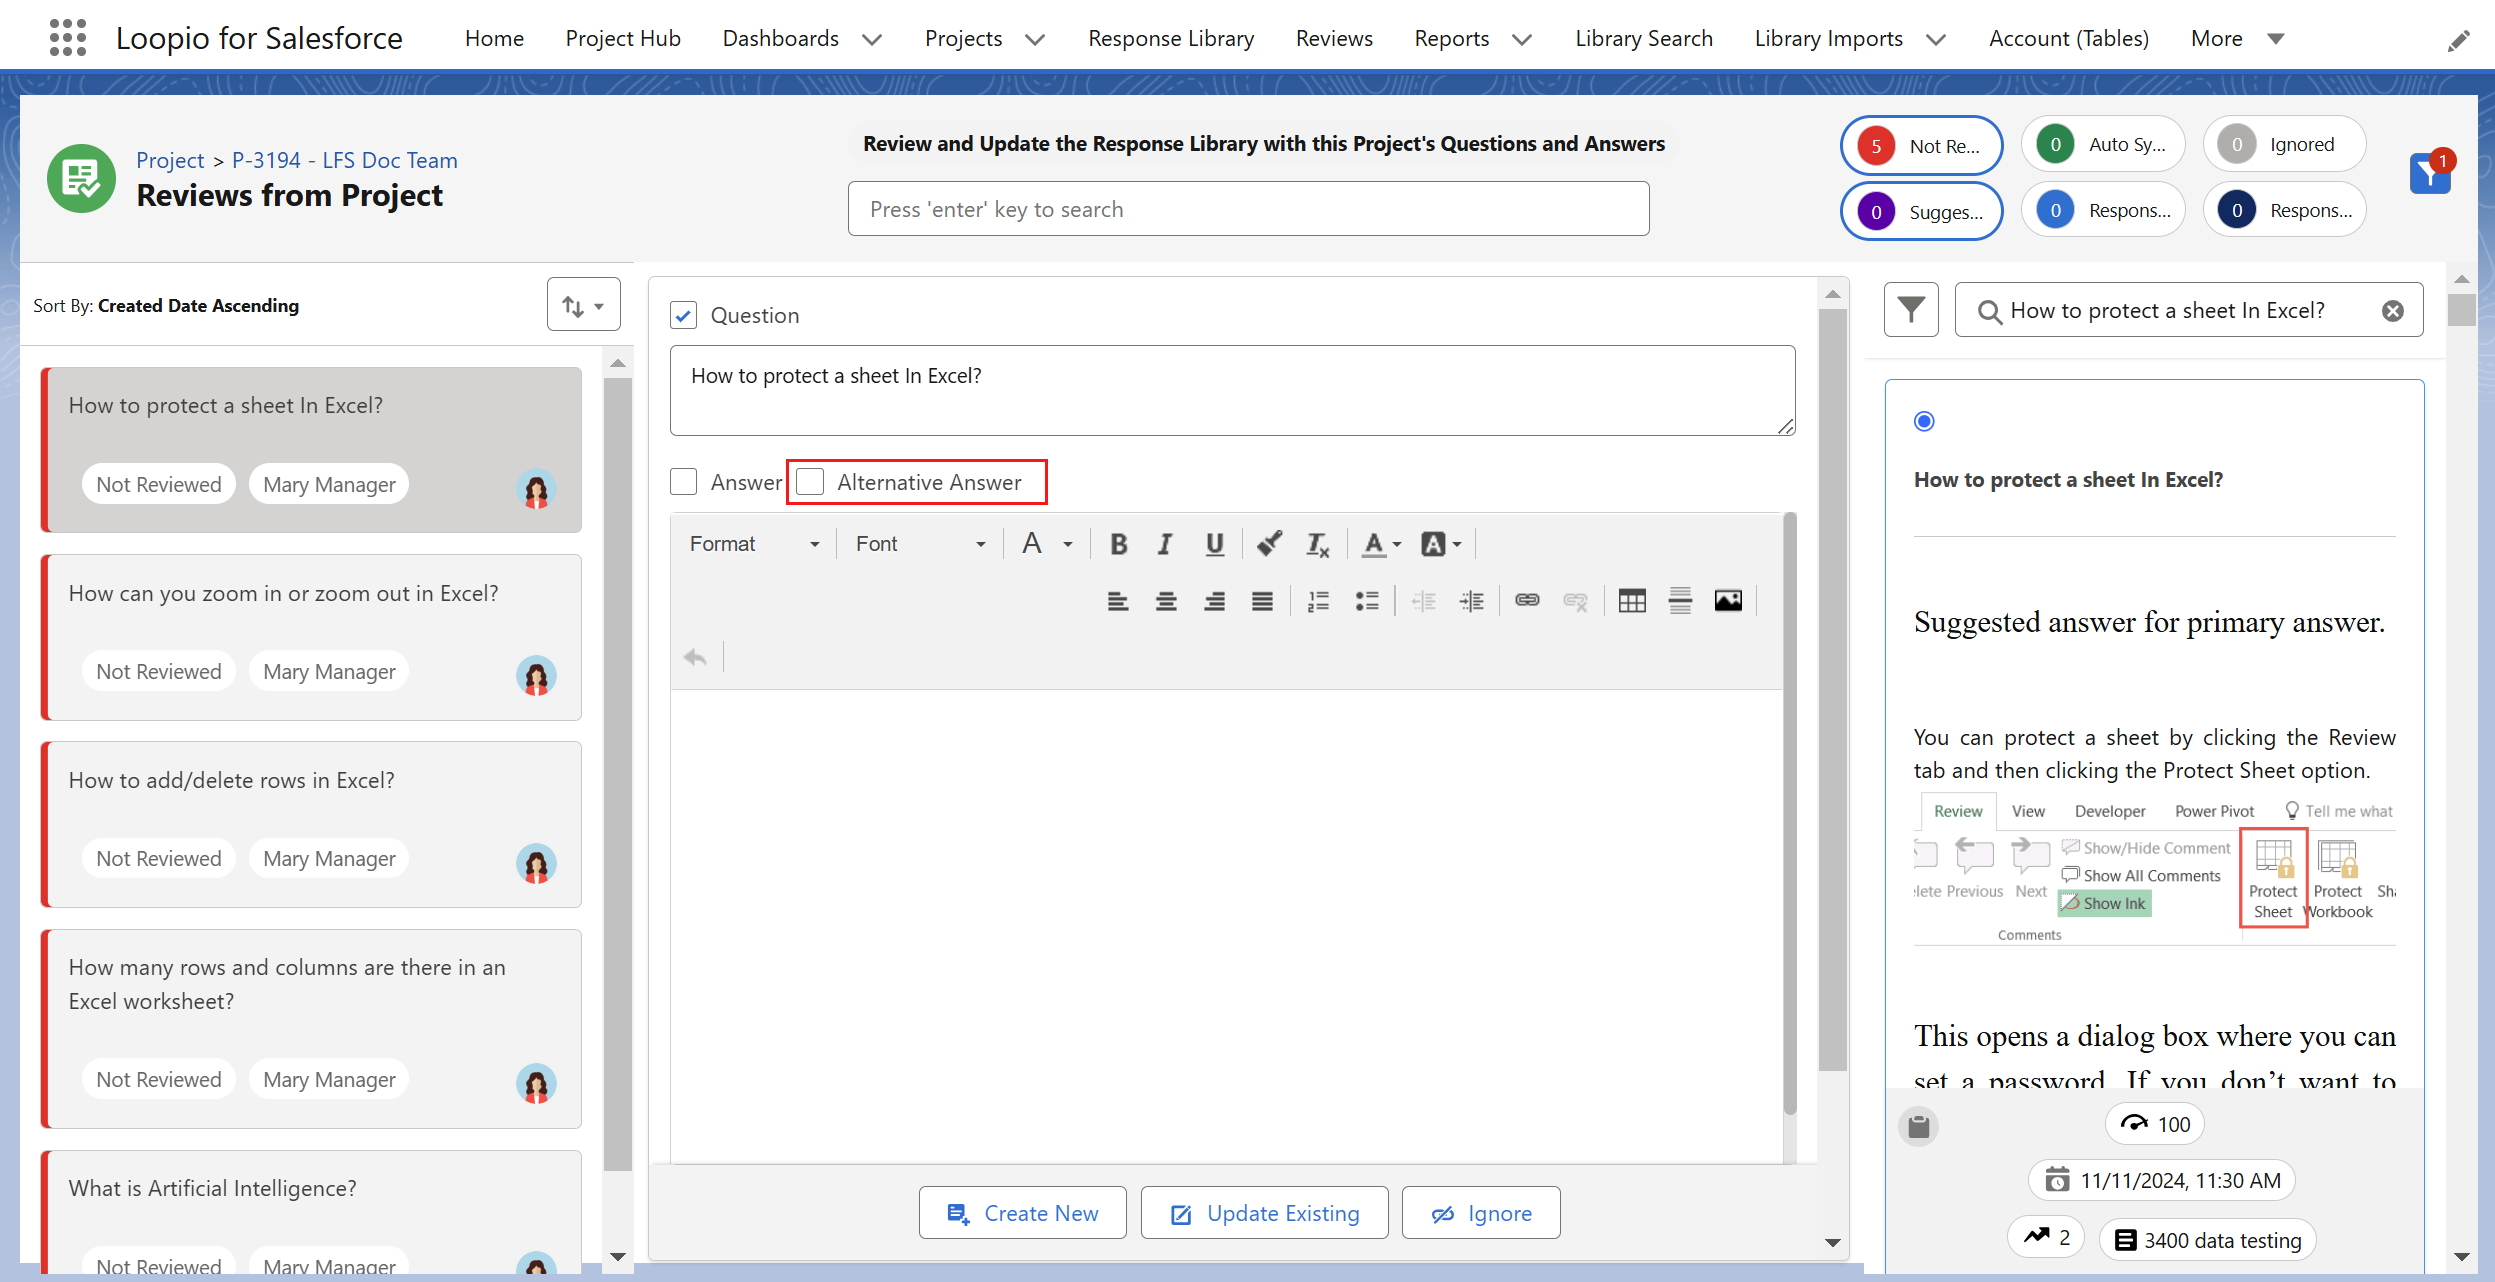 Click to enlarge For more information on how to create Reviews from Project Request to add/update an Alternative Answer, see Creating Reviews from Project Request. |
Community Base URL | If you use community, add your site base URL to redirect to the Project page from the email notifications. |
Community Project Page Name | If you use community, you need to add the name of the Project record page created in the community. This name will be used in the email notification which will redirect the community user to the respective project.  Click to enlarge |
Number of Search Results on Project | Set a value to specify how many search results to display on the View Questions and Library Sync page. If you keep the value as blank or null, the system will display 100 records for a search by default. |
Font Selection Option Setting | |
Custom Font Resource Names | Enter the static resource name (refer to the note below) that will be used to load custom fonts. Use comma separated format to add more than one static resource. For more information, click here. You must upload a .zip file containing .css and fonts (listed in the.css file) files to Setup > Static Resources (the static resource name must be the same as the .css file name). |
Enable Fonts In Editor | Check this checkbox to enable the custom font selection option in the LFS Editor for use in the View Questions. This allows the user to choose the font type in the editor. For more information, refer to the below GIF. |
Custom Font Names | Enter the font name that should appear in the editor. Use comma separated format to add more than one font name. For example: Lobster, Cambria The font name entered in this field must match the font-family property value specified in the CSS file uploaded to the static resource. For more information, refer to the below GIF. |
Default Editor Font Name | Enter the font name that you want to set as default in the editor. The font name entered in this field must match the font-family property value specified in the CSS file uploaded to the static resource. For more information, refer to the below GIF. |
 Click to enlarge | |
To configure the Profile and User Level project setting
Go to Setup > Search and select Custom Settings.
Click Manage action for the LFS Project Configuration.
Go to the section next to the Default Organization Level Value section.
Click the New button for the first time configuration or click the Edit button if you want to update the already configured setting.
Select the Profile or User option respectively and then add/search the profile/user in the Location field.
Refer to the table mentioned in Step 4 of the previous section, Select or enter the value for the following settings as per your business needs and click the Save button.