Create New Response
You can create new responses (question and answer pair) from the Responses and Response Library tabs. Alternatively, if you want to import multiple responses with a single click, you can import the document that contains the question and answer pair. For more information on import functionality and step-by-step instructions, see Library Import.
To create new responses manually
Click on the Response Library tab or go to App Launcher > search and select Response Library. Then, click the Responses button > New button.
--OR--Click on the Responses tab or go to App Launcher > search and select Responses. Then click the New button.
The steps are as below.
Enter the following information in the below fields. Fields marked with an asterisk (*) are mandatory:
*Question: Enter the desired question.
Answer: Enter the respective response for the question. (A Response without the information in the Answer field will not get published, so make sure this field is not empty.)
*Stack: Select the stack from the list to set the location of the response in the library. For more information on stack, see Stacks Tab.
Categories: Search and select categories to group related responses.
Tags: Search and select tags to group related responses.
Source: Enter the source from where this Response came which can be added based on business need.
Click the Save button.
You are directed to the newly created response page.
Every newly created response and library import requests must be associated to a Stack as it is a mandatory field. The application restricts you from saving a response without a Stack.
All the existing responses will remain as is without any Stack values.
You cannot delete or remove a Stack if it is linked to any response. The application prevents deleting with an error message “A stack cannot be deleted while there are responses in that stack”.
Font Selection Settings
You can also choose a different font style while adding answer. You can also ask your administrator to set the default font style so that every time you do not need to change it manually.
Contact your Salesforce system administrator to enable the custom font selection option in the LFS Editor and set the default custom font under:
Custom Settings > LFS Response Configuration > Enable Fonts In Editor
Custom Settings > LFS Project Configuration > Custom Font Resource Names, Custom Font Names, and Default Editor Font Name
For more information, see LFS Response Configuration and LFS Project Configuration.

Click to enlarge
Manage Field Sets:
Users with the required permission can configure the field sets in additional information from Setup > Object Manager > Response > Field Sets > Response Editor Fields. You can add or remove the fields and make the required field mandatory (*).
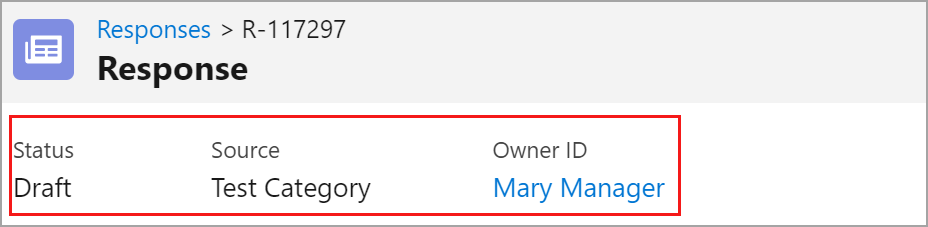
You can see several fields in the highlight panel that can be configured from Setup > Object Manager > Response > Field Sets > Response Highlight Fields.
Click to enlarge
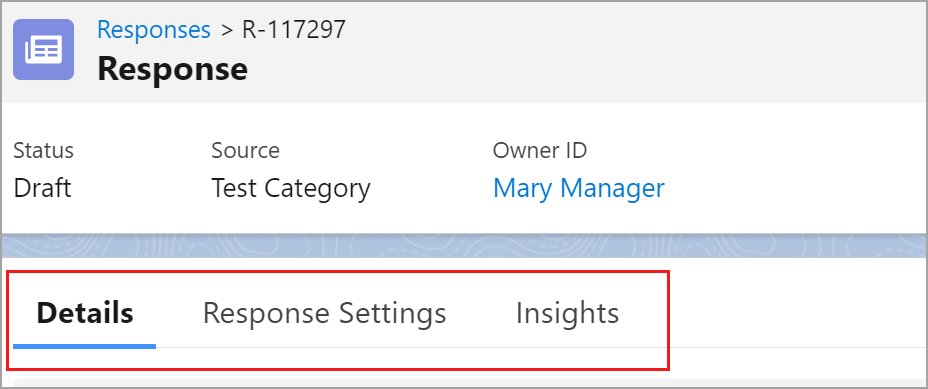
Under the highlight panel, you can see three tabs where response related information is available:
Click to enlarge
Details - This section displays the primary and additional information from the page layout related to the Response. For example: Question, Answer, Source, etc.
Response Settings - The additional fields shown in this section are customizable and do not change frequently. For example: Active, Visible to Assistant, etc.
Insights - The information shown in this section are read only and provides more details about the publisher, when the response got published, and how many times the response was copied, used or referenced. For example: Last Used Date, Last Published By, Number of Times Used, Copied, and Referenced, etc.

Click to enlarge
Manage Field Sets:
Users with the required permission can customize the fields in the Details section from Setup > Object Manager > Response > Page Layouts.
The additional fields shown in the Response Settings section can be configured from Setup > Object Manager > Response > Field Sets > Response Settings Fields.
The fields shown in the Insights section can be configured from Setup > Object Manager > Response > Field Sets > Response Insights Fields.
After creating a Response record, on the Response details page, you can:
View Status of the respective Response information.
Once the response is created, you can change the response status as below:Draft - After you create a new response.
Published - Once the Response is published and indexed, it will be available to use and can be used in search, retrieve answers, etc. (The published Response will always be in sync with the active Response Version)
Archived - The Archived Responses are not searchable anywhere.
On the Response page under Related tab, you can:
View the status of the Response Version, as well as the visibility of the version you are currently viewing.
Some of the different response versions are as follows:Draft - The current version of the response which is not yet published.
Active - The current active version of the response after being published.
Superseded - The older version of the response.
Archived - The Archived Response version will not display in the search results.
Update Stacks.
Add Categories, Tags, Alternative Questions, and Alternative Answers.
Upload Supporting Documents for the response.
Once a response is created, the Response Owner (the person who created it) is automatically added to the Response Team Member. For more information on Team Members, see Response Team Members.