Setting Up the Project Approval Criteria in the Loopio Go/No-Go App for Salesforce?
Permissions Required: A Salesforce license, with the Go/No-Go Admin permission set, is required to configure the Loopio Go/No-Go app
By customizing the Go/No-Go Configurations, Sections, Questions, and Scoring within the Loopio Go/No-Go app, your team can identify the right opportunities to respond to based on a set of criteria you define.
Learn more: Before you begin, download and complete our Go/No-Go Planning Guide, and make sure your Salesforce Administrator has installed the Go/No-Go app.
Creating Go/No-Go Configurations
Each Go/No-Go Configuration contains a set of Go/No-Go Sections and Questions. You can create multiple Go/No-Go Configurations, allowing you to display a different set of qualifying questions to each team.
Click the Go/No-Go Configurations tab.

Click to enlarge
Tip: Don't see the Go/No-Go Configurations tab? Look under More, or go to the App Launcher, then search for and select Loopio Go/No-Go.
.png?inst-v=2a047272-eed9-4a6f-9e0a-b49a2021ff40)
Click to enlarge
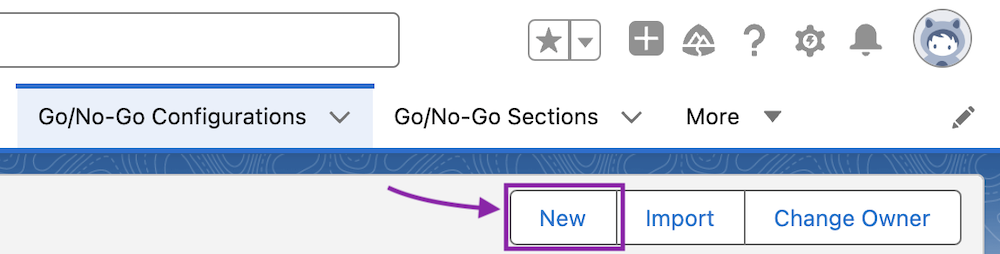
Click New.
Click to enlarge
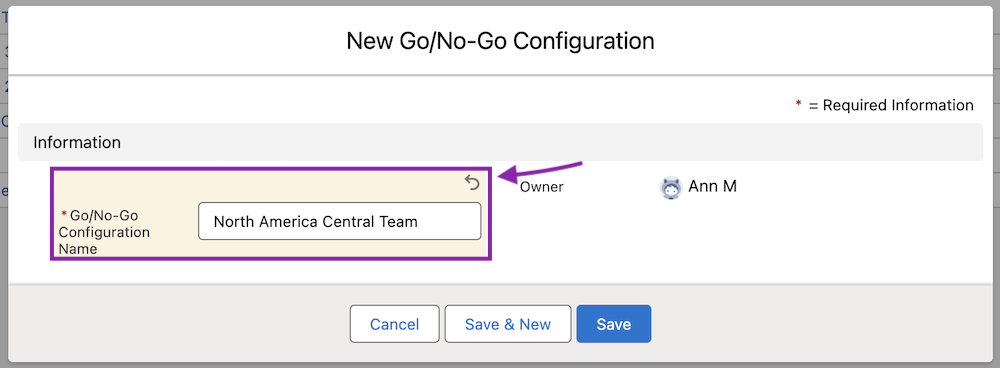
Enter a Go/No-Go Configuration Name.
Click to enlarge
Click Save to create your Go/No-Go Configuration, or Save & New to create one or more additional Go/No-Go Configuration(s) on the same screen.
Tip: Ready to begin creating Go/No-Go Sections? Skip to step 3 of Creating a Go/No-Go Section Within a Go/No-Go Configuration.
Linking Go/No-Go Configurations
Creating a Linked Configuration allows you to consider input from multiple team members before making a decision to begin a Project.
Learn more: Can I Have a Multi-Step Go/No-Go Process?
Click the Go/No-Go Settings tab.
Tip: Don't see the Go/No-Go Configurations tab? Look under More, or go to the App Launcher, then search for and select Loopio Go/No-Go.
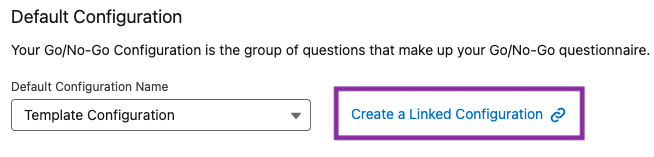
Click Edit on the Default Configuration tile.

Click to enlarge
Select Create a Linked Configuration.
Click to enlarge
Click Save to create your Linked Configuration.
Creating Go/No-Go Sections
A Go/No-Go Section will contain a set of Go/No-Go Questions. Each Go/No-Go Section can only exist within one Go/No-Go Configuration.
Creating a Go/No-Go Section Within a Go/No-Go Configuration
Click the Go/No-Go Configurations tab.
.png?inst-v=2a047272-eed9-4a6f-9e0a-b49a2021ff40)
Click to enlarge
Tip: Don't see the Go/No-Go Configurations tab? Look under More, or go to the App Launcher, then search for and select Loopio Go/No-Go.
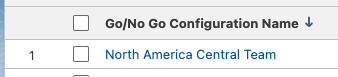
Click the name of the Go/No-Go Configuration you want to add Go/No-Go Sections to.
Click to enlarge
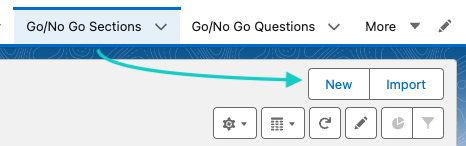
Beside Go/No-Go Sections, click New.
.png?inst-v=2a047272-eed9-4a6f-9e0a-b49a2021ff40)
Click to enlarge
Enter the Go/No-Go Section Name and Section Sequence.
.png?inst-v=2a047272-eed9-4a6f-9e0a-b49a2021ff40)
Click to enlarge
Click Save to create your Go/No-Go Section, or Save & New to create one or more additional Go/No-Go Section(s) on the same screen.
Creating a Go/No-Go Section from the Go/No-Go Sections Tab
Click the Go/No-Go Sections tab.

Click to enlarge
Tip: Don't see the Go/No-Go Sections tab? Look under More, or go to the App Launcher, then search for and select Loopio Go/No-Go.
Click New.
Click to enlarge
Enter the Go/No-Go Section Name.
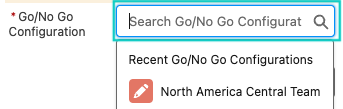
Search for and select a Go/No-Go Configuration, or select + New Go/No-Go Configuration to create a new Go/No-Go Configuration.
Click to enlarge
Enter a Section Sequence.

Click to enlarge
Click Save to create your Go/No-Go Section, or Save & New to create one or more additional Go/No-Go Section(s) on the same screen.
Creating Go/No-Go Questions
After creating Go/No-Go Section(s), you can configure multiple questions in each section. The questions you create will be linked to the related section name with a specific data type (dropdown, text, number). You can also set the question(s) as mandatory by checking the Make Required field to true.
Creating a Go/No-Go Question from Within a Go/No-Go Section
Click the Go/No-Go Sections tab.
.png?inst-v=2a047272-eed9-4a6f-9e0a-b49a2021ff40)
Click to enlarge
Tip: Don't see the Go/No-Go Sections tab? Look under More, or go too the App Launcher, then search for and select Loopio Go/No-Go.
Click the name of the Go/No-Go Section you want to add Go/No-Go Questions to.
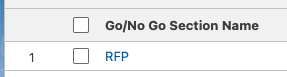
Click to enlarge
Beside Go/No-Go Questions, click New.
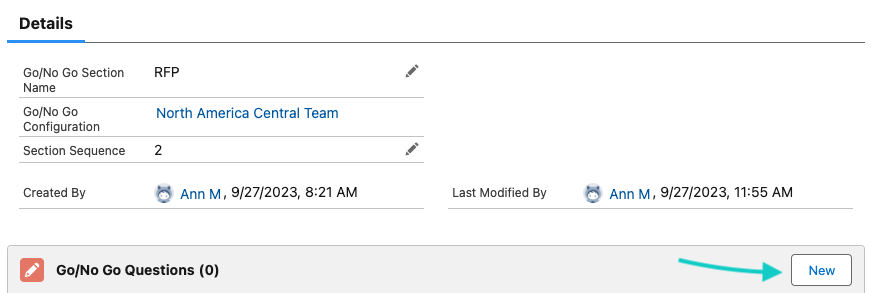
Click to enlarge
Enter the following information. Fields marked with an asterisk (*) are mandatory:
* Question Label: Enter the desired question.
* Go/No-Go Section: Auto populate by default or choose the desired Section name.
Make Required: Check/Uncheck.
* Data Type: You can choose one among the type (Text/Dropdown/Number) based on your needs.
* Question Sequence: You can align the questions in a sequential order based on the number.
Max Score: This is the maximum score that can be achieved by this question. It contributes towards the Configuration’s total max score.
Salesforce Source: When creating questions in the Loopio Go/No-Go app, you can create a question that is linked to an existing field on your Salesforce opportunities. Please note that if data type is selected as Salesforce Input then Salesforce Source field is mandatory.
Click Save to create your Go/No-Go Question, or Save & New to create one or more additional Go/No-Go Question(s) on the same screen.
Creating a Go/No-Go Question from the Go/No-Go Questions tab
Click the Go/No-Go Questions tab.

Click to enlarge
Tip: Don't see the Go/No-Go Sections tab? Look under More, or go to the App Launcher, then search for and select Loopio Go/No-Go.
Click New.
Enter the following information. Fields marked with an asterisk (*) are mandatory:
* Question Label: Enter the desired question.
* Go/No-Go Section: Auto populate by default or choose the desired Section name.
Make Required: Check/Uncheck.
* Data Type: You can choose one among the type (Text/Dropdown/Number) based on your needs.
* Question Sequence: You can align the questions in a sequential order based on the number.
Max Score - This is the maximum score that can be achieved by this question. It contributes towards the Configuration’s total max score.
Salesforce Source - When creating questions in the Loopio Go/No-Go app, you can create a question that is linked to an existing field on your Salesforce opportunities. Please note that if data type is selected as Salesforce Input then Salesforce Source field is mandatory.
Click Save to create your Go/No-Go Question, or Save & New to create one or more additional Go/No-Go Question(s) on the same screen.
Creating Go/No-Go Scores
Click the Go/No-Go Sections tab.
.png?inst-v=2a047272-eed9-4a6f-9e0a-b49a2021ff40)
Click to enlarge
Tip: Don't see the Go/No-Go Sections tab? Look under More, or go to the App Launcher, then search for and select Loopio Go/No-Go.
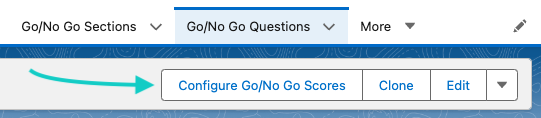
Click the Question Name/ID in the Go/No-Go Questions panel of your Go/No-Go Section.
Click Configure Go/No-Go Scores.
Click to enlarge
Enter the following information in the below fields:
Value: add the expected answer in the text box. (Numeric or Alphabetic)
Score: Enter any number associated to the answer. (0,1,2,….)
Click Add Score to include additional answers and scores.
Click Save.
Go/No-Go Score Calculation
A simple percentage formula is used to calculate the Go/No-Go Score:
The scores of all answers given by the user are added together.
The score is divided by the possible overall maximum score provided by administrator for all questions, then multiplied by 100 to get the final Go/No-Go Score in percentage.
Go/No-Go Status
Note: This section refers to the default Go/No-Go Statuses included in the Go/No-Go managed package. You may see different options if your Organization has set up custom Go/No-Go Statuses.
Based on the calculated Go/No-Go Score, the application provides three default statuses, Red, Yellow, and Green, with the following ranges:
Red: 0 and 30
Yellow: 31 and 60
Green: 61 to 100
You can use the Custom Metadata Types setting to configure the Go/No-Go Status based on the Go/No-Go Score.
Configuring the Go/No-Go Status Setting
Select the Go/No-Go Settings tab
Tip: Don't see the Go/No-Go Settings tab? Look under More, or go to the App Launcher, then search for and select Loopio Go/No-Go.
In the Go/No-Go Statuses section, click Edit.
Click + Add New to add a new status, the edit status button (pencil icon) to update an existing status, or the delete status button (trash bin icon) to delete an existing status.
Select or enter a value for the following settings.
Status Label: A name for the status, for example Green.
Min Range: the minimum score required for a submission to have this status. Must be a number.
Max Range: the maximum score allowed for a submission to have this status. Must be a number.
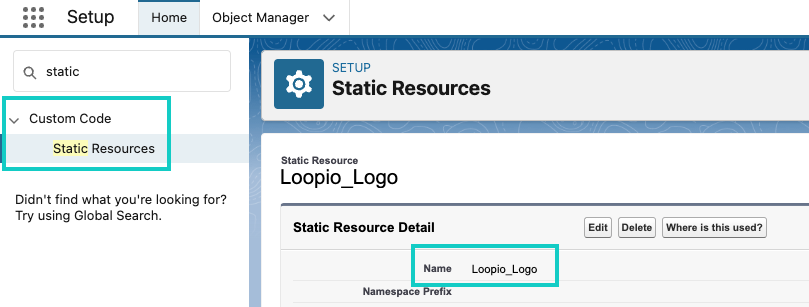
Static Resource Name: The file name for the image that will be displayed when this status is returned.
Tip: The static resource must already exist in your Salesforce instance. Learn more: [External: Salesforce] Define Static Resources
Click to enlarge
Click Save.
Go/No-Go Reminders
Select the Go/No-Go Settings tab.
Don't see the Go/No-Go Settings tab? Look under More, or go to the App Launcher, then search for and select Loopio Go/No-Go.
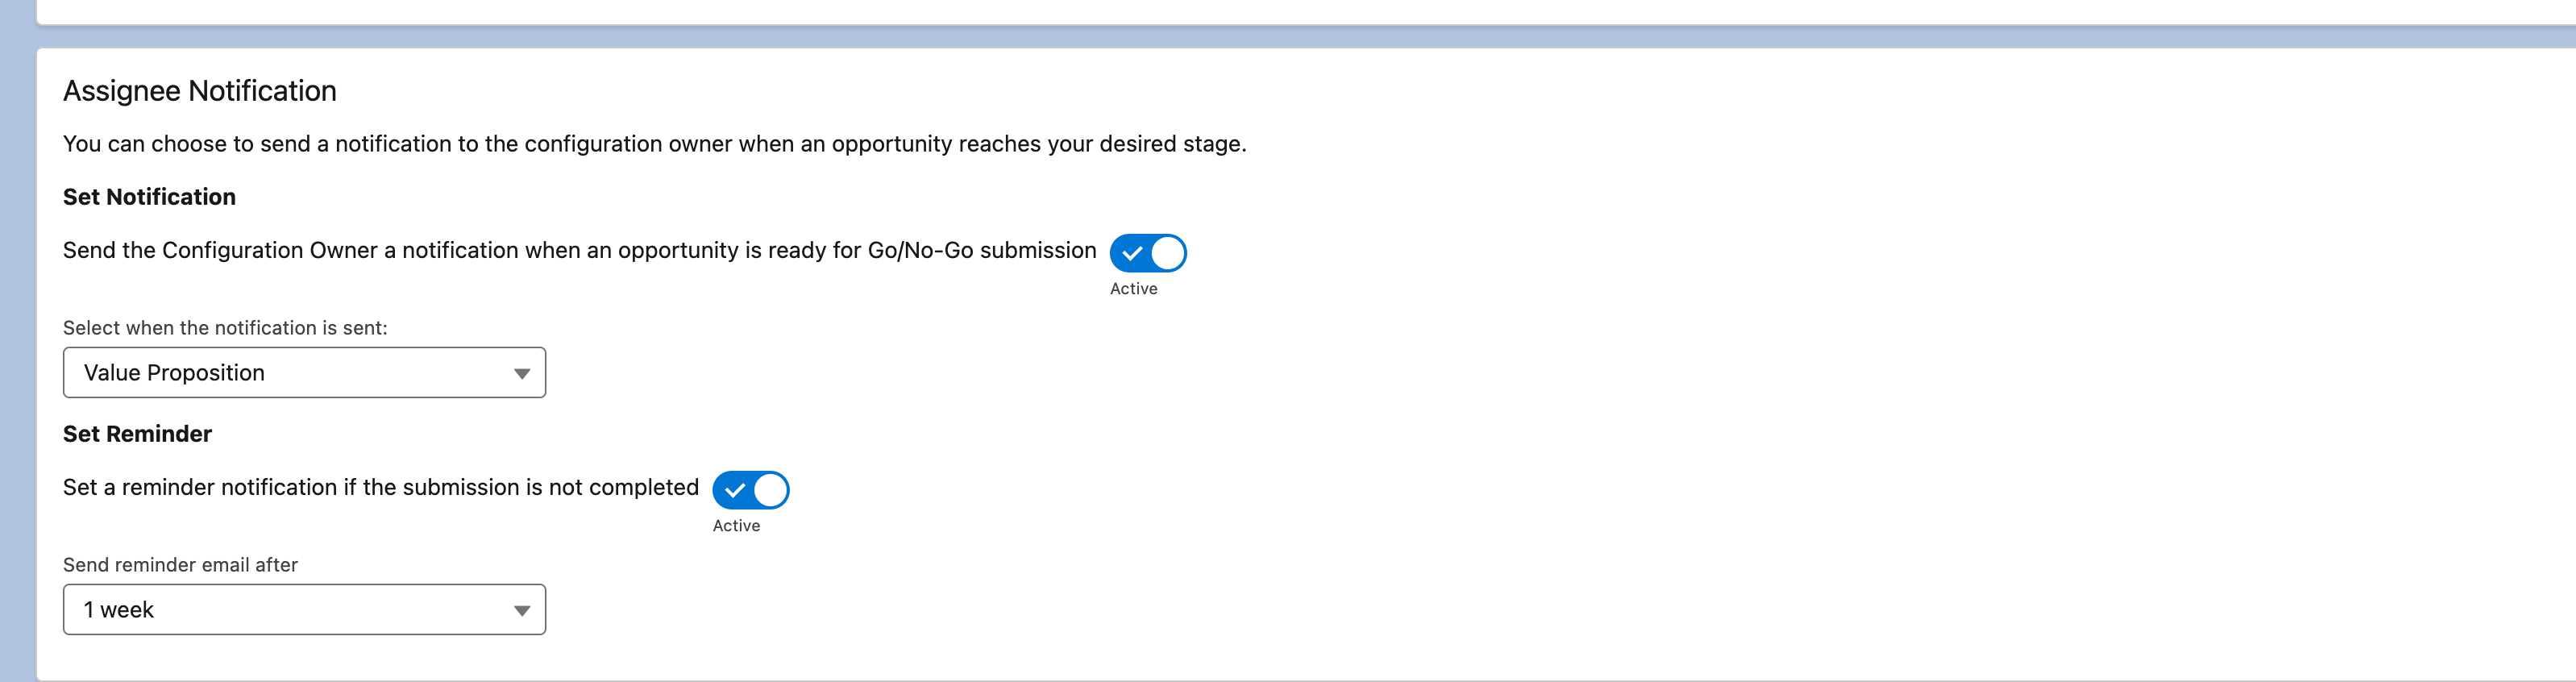
In the Assignee Notification section, click Edit.
Choose whether to send the Configuration Owner a notification when an opportunity is ready for Go/No-Go submission.
Select when (at which Stage) the notification is sent.
Choose whether to set a reminder notification if the submission is not completed.
Select when (how far in advance) the reminder is sent.
Click to enlarge
Click Save.