Generate in Source
Pre-requisite
A valid Word (.docx), Excel (.xlsx), or PDF (.pdf) file must be uploaded to the project.
If the source file is in PDF format, the system will convert the file into .docx to make it editable and then generate the output answers in a Word file (.docx).
To generate questions and answers in the same source file (configured file):
Go to the Project Actions section and click the Generate button. The system will navigate you to the page where you can find the source file.
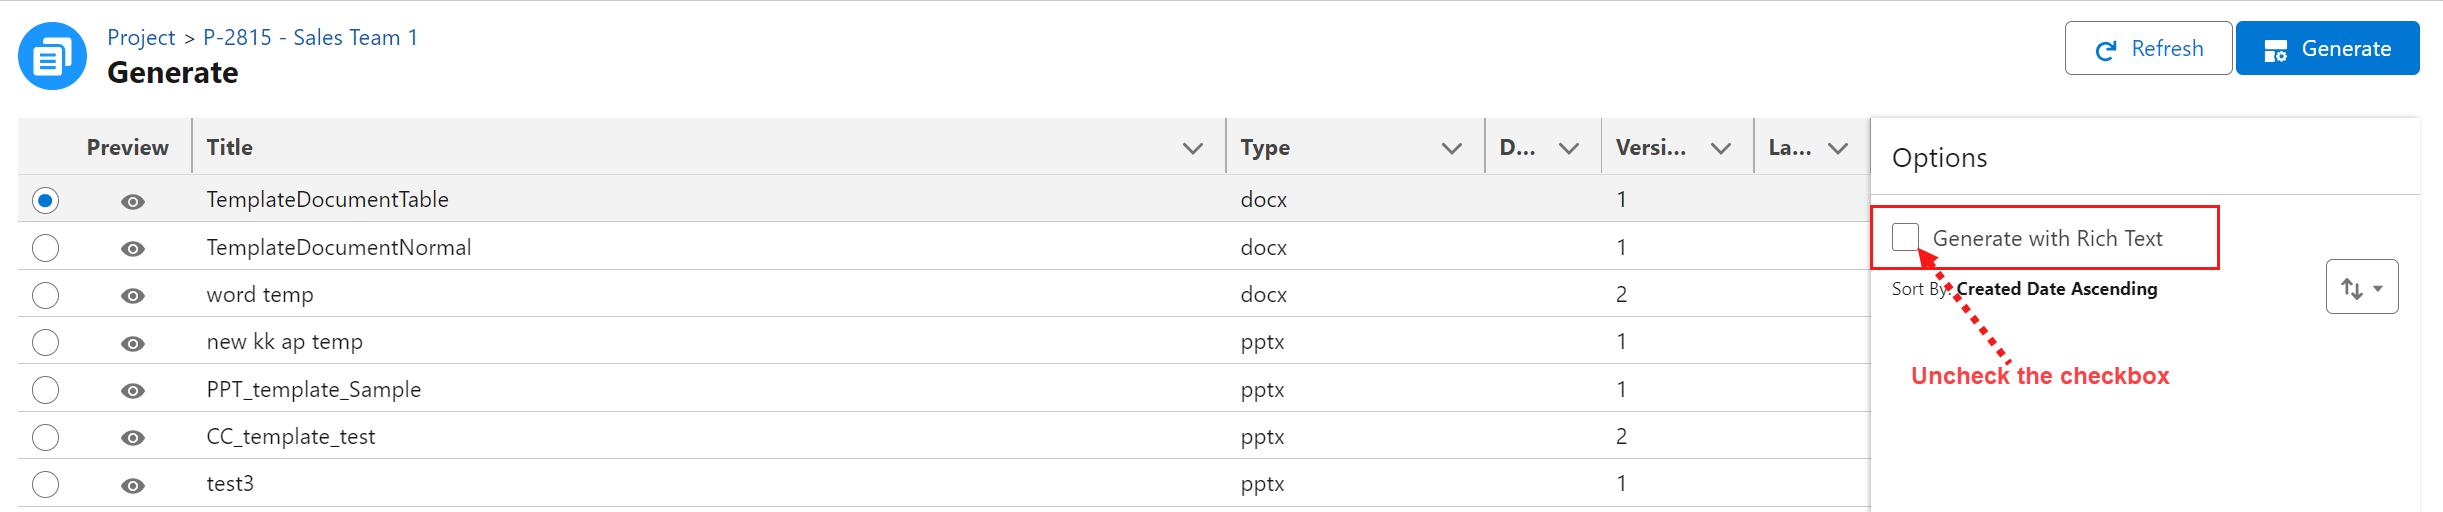
Select one of the source files (xlsx or docx) where you want to generate the answers.
Click the Preview icon to see the uploaded file before you generate the file.
Select the Generate with Rich Text checkbox if you want to generate the questions and answers in rich text. Uncheck the checkbox if you want it in plain text.
Note: Rich Text Format is a file format that allows you to include different fonts, text sizes, colors, hyperlinks, bullet points, images and highlighted keywords, etc, and lets you exchange text files between different word processors.Click the Generate button.

Click to enlarge
You can generate the Word file in plain text format by unchecking the Generate with Rich Text checkbox.
Click to enlarge
Word files are only supported in .docx format. If you have configured the project using a Word file, you can generate the answers back into the same format.
Naming Convention:
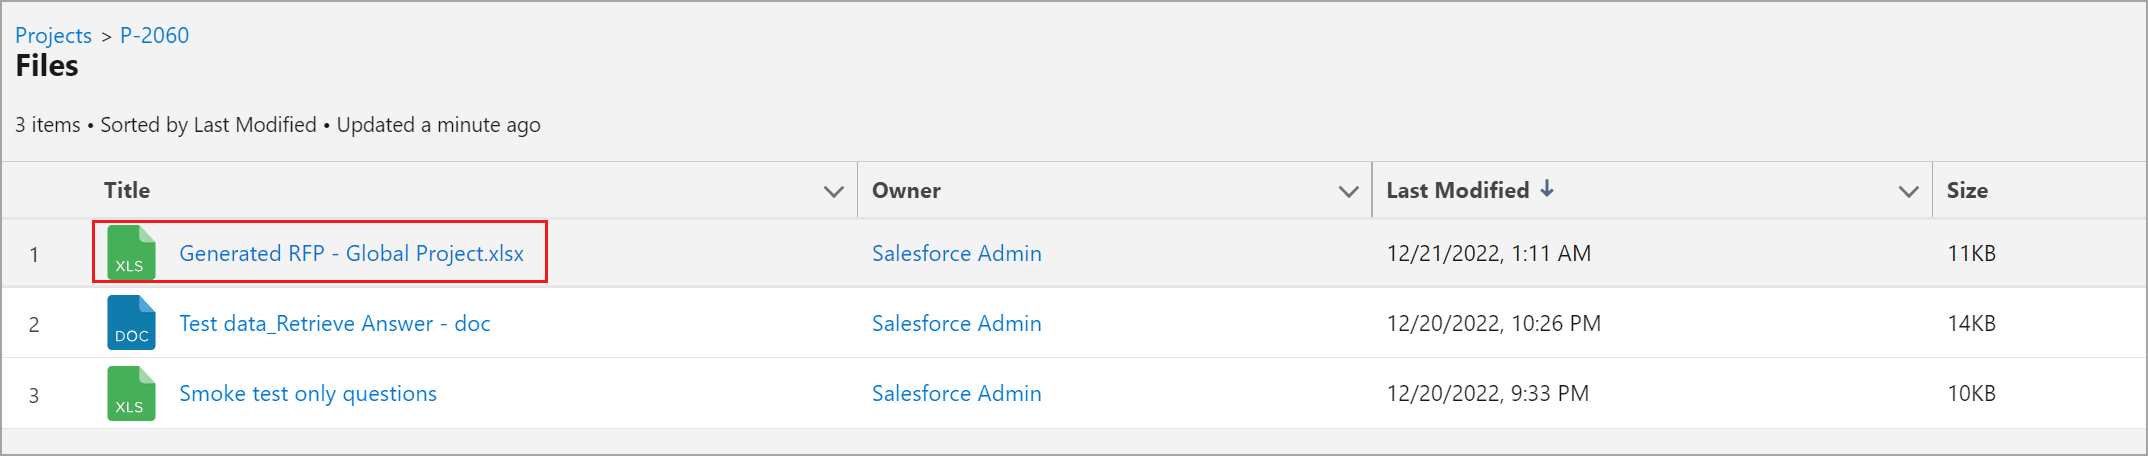
You can see the newly generated file always use the naming convention that is formed of Generated File followed by the Record Type and the Project Name.
For Example: Generated RFP - Global Project.docx
Generated RFP (Record Type)
Global Project (Project Name)
.docx (File Format)
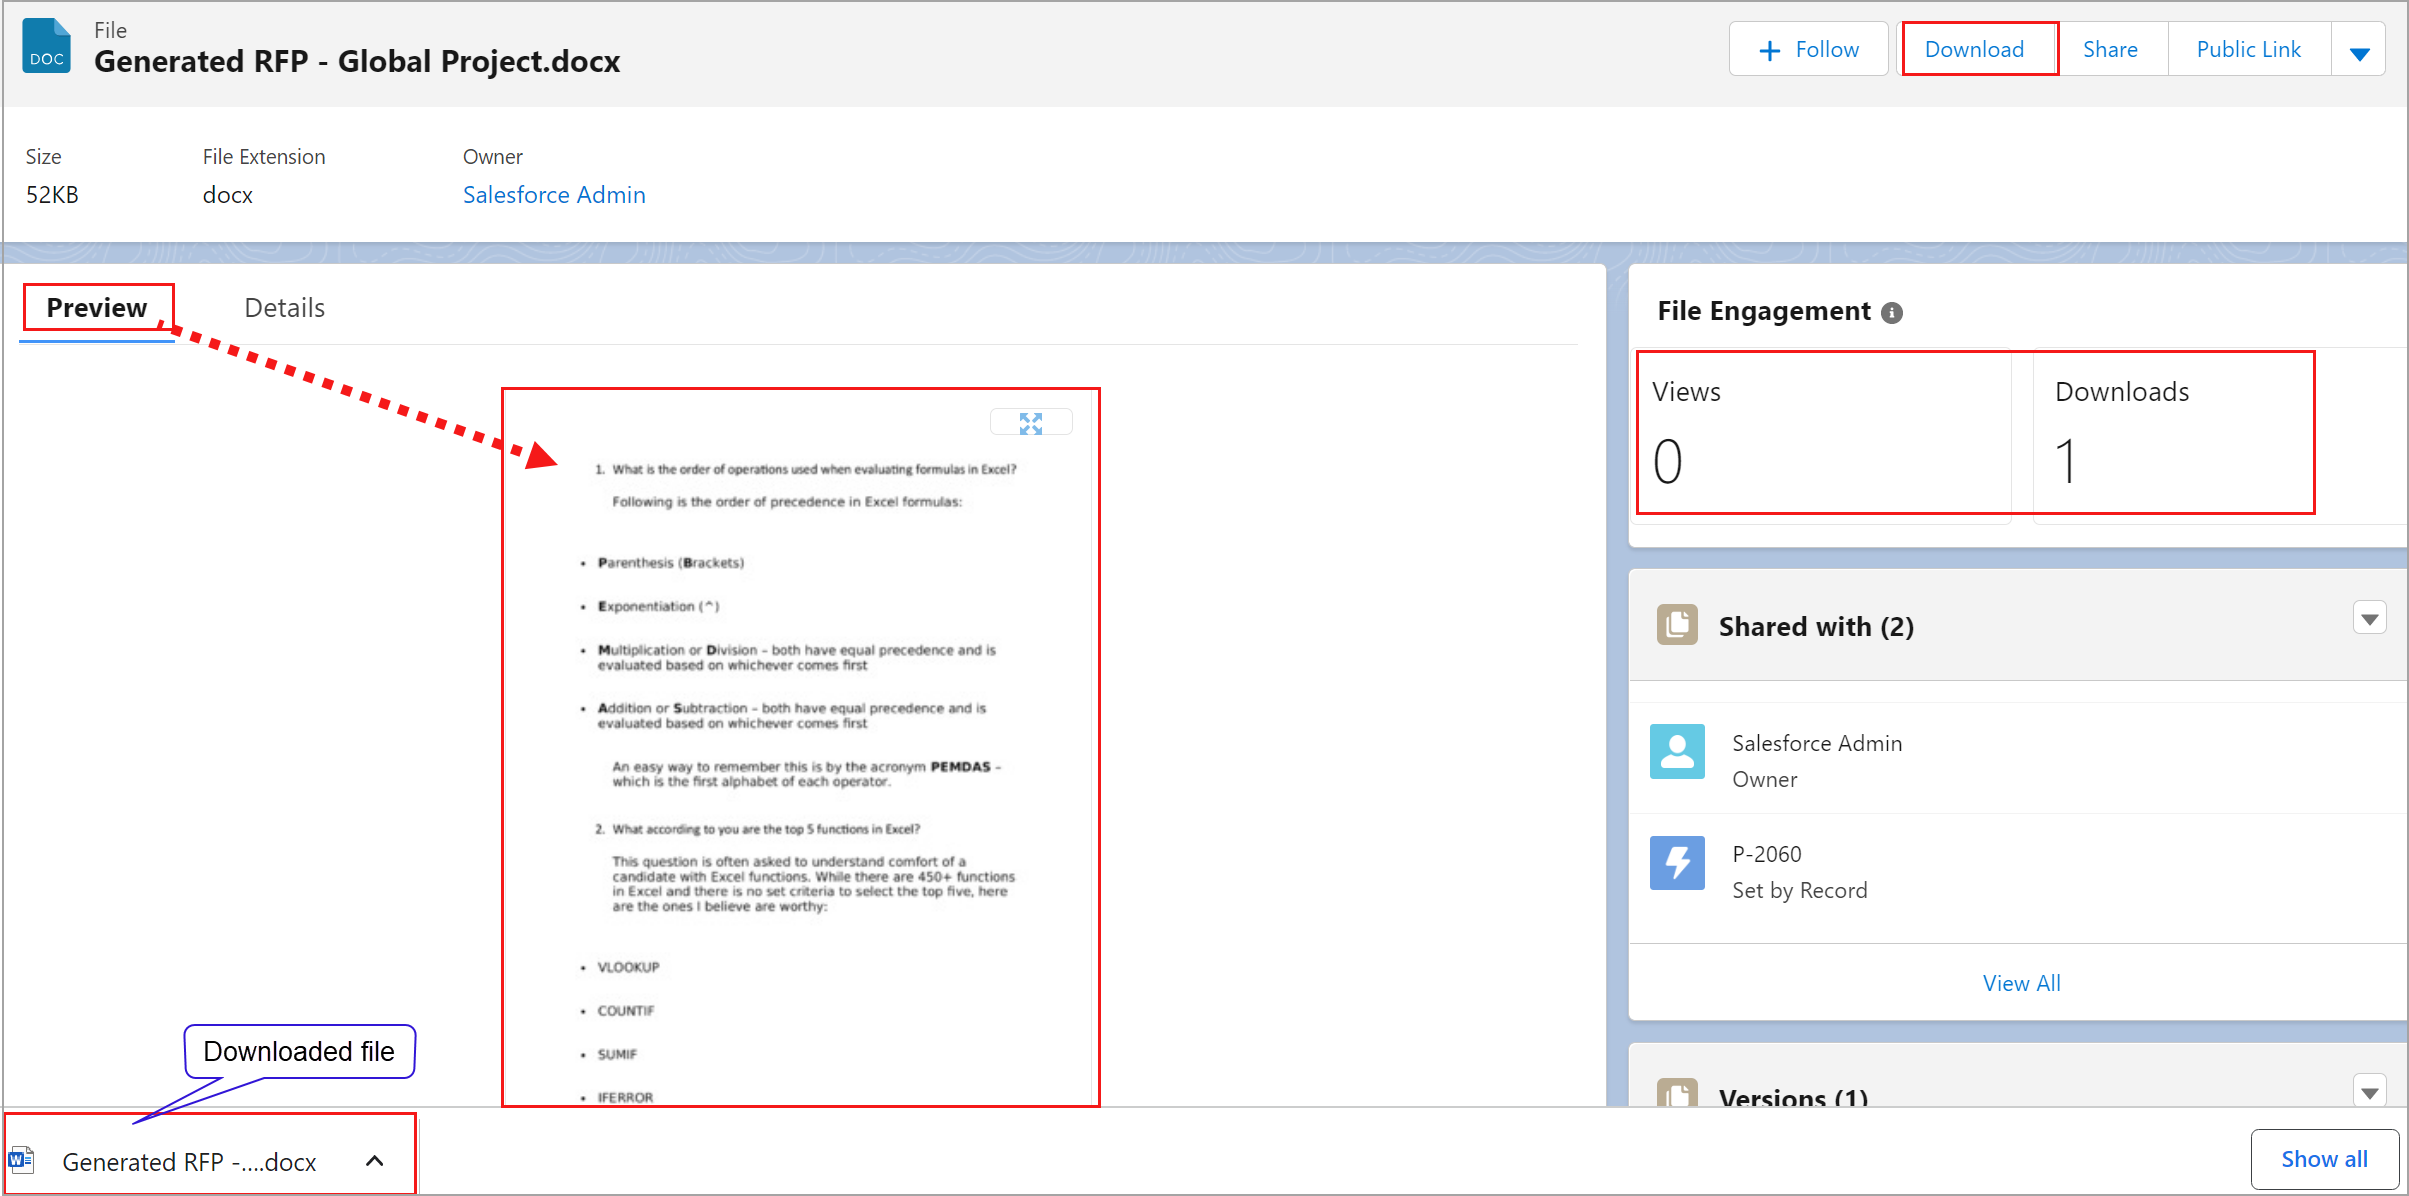
The system opens up a new tab and displays the preview of the generated file. Click on the Details tab to get more information about the file. You can download the file, share it within your organization, edit the file details (for example, add a description), upload a new version, and delete the uploaded file. The File Engagement section shows the number of views and downloads of the generated file.
Click to enlarge
You must enable the pop-ups and redirecting settings in the browser to display the generated file in a new tab. For more information see Enable Pop-up. If the pop-up is blocked by default, the system will navigate you to the Project page > Files section, where you can see the newly generated file.
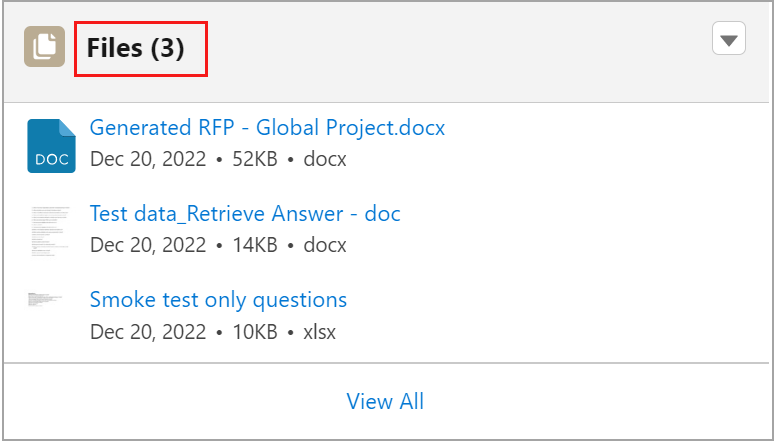
Alternatively, you can find the newly generated file on the project page in two places.
Go to the Project page > Files section.
Click to enlarge
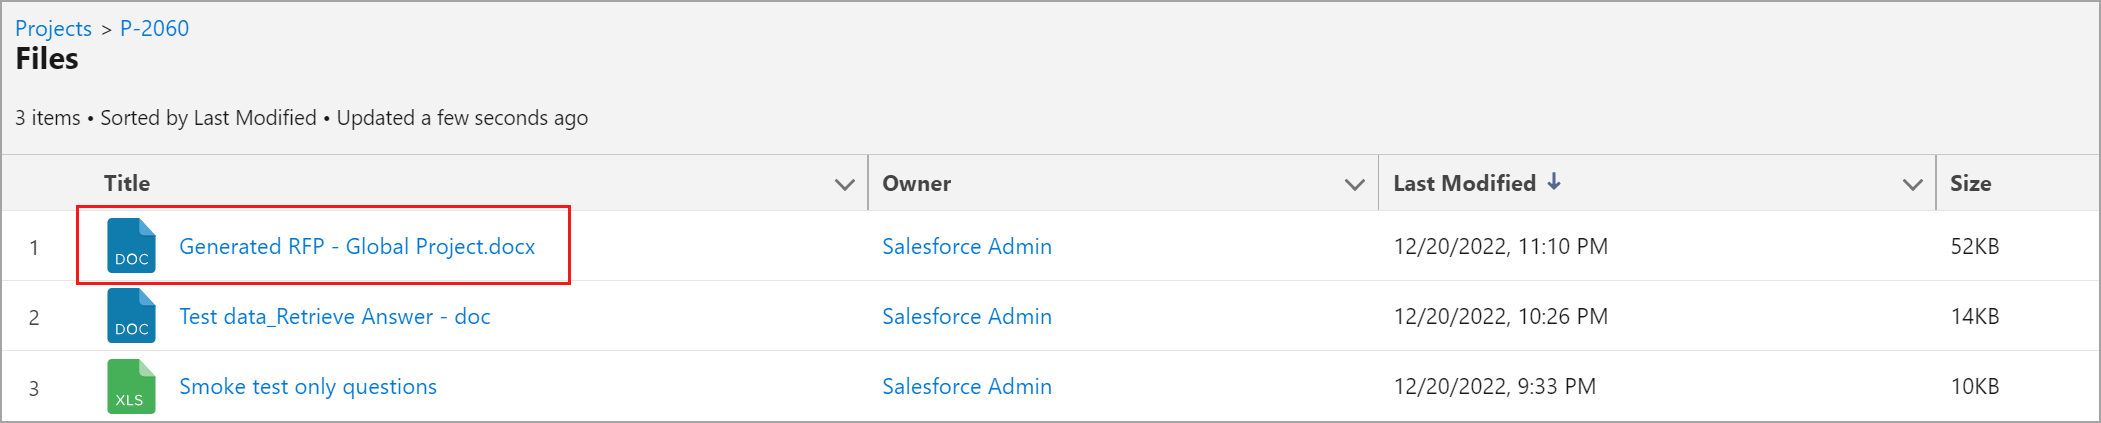
Go to the Salesforce Files tab.
Click to enlarge
To see a preview of the generated file, click on it. From the preview screen, you can download the file, share it within your organization, delete it, edit the file details (for example, add a description), and upload a new version.
The procedure explained above for generating the Word file is the same for an Excel file. Excel files are only supported in .xlsx format. If you have configured the project using an Excel file, you can generate it back into the same source file.
Click to enlarge
You can send the document either in template or back into the source file format of the RFx to the clients through email once the document is generated. For more information, see Send Email.