Configure Excel File
The Excel file gets rendered once you select it from the Configure Project step. First, you can configure the Excel settings as per your project’s use cases, and then start mapping the contents of the sheet.
Excel files are only supported in .xlsx format. If you have your file in .xslm (macro enabled) format or any other than .xslx format, refer to the following steps to convert it into .xlsx format.
Open your file.
Click File or Office Button icon.
Click Save As.
Set the Save as type to Excel Workbook.
Click Save.
Configure Excel File Settings
Refer to the following Excel file import configuration settings and set them as per your project's use case.
When you reconfigure the same Excel document, the application retains the Import Answer, Use Plain Text, Auto Height, and Auto Select settings you selected while importing the document. For more information on reconfiguring a file, click here.
Setting | Description |
|---|---|
Global Setting | |
Import Answer | To import marked answers along with questions. The assignee can also modify or add new answers during the project cycle. |
Use Plain Text | To ignore any existing formatting from the uploaded file and consider the entire content as plain text. |
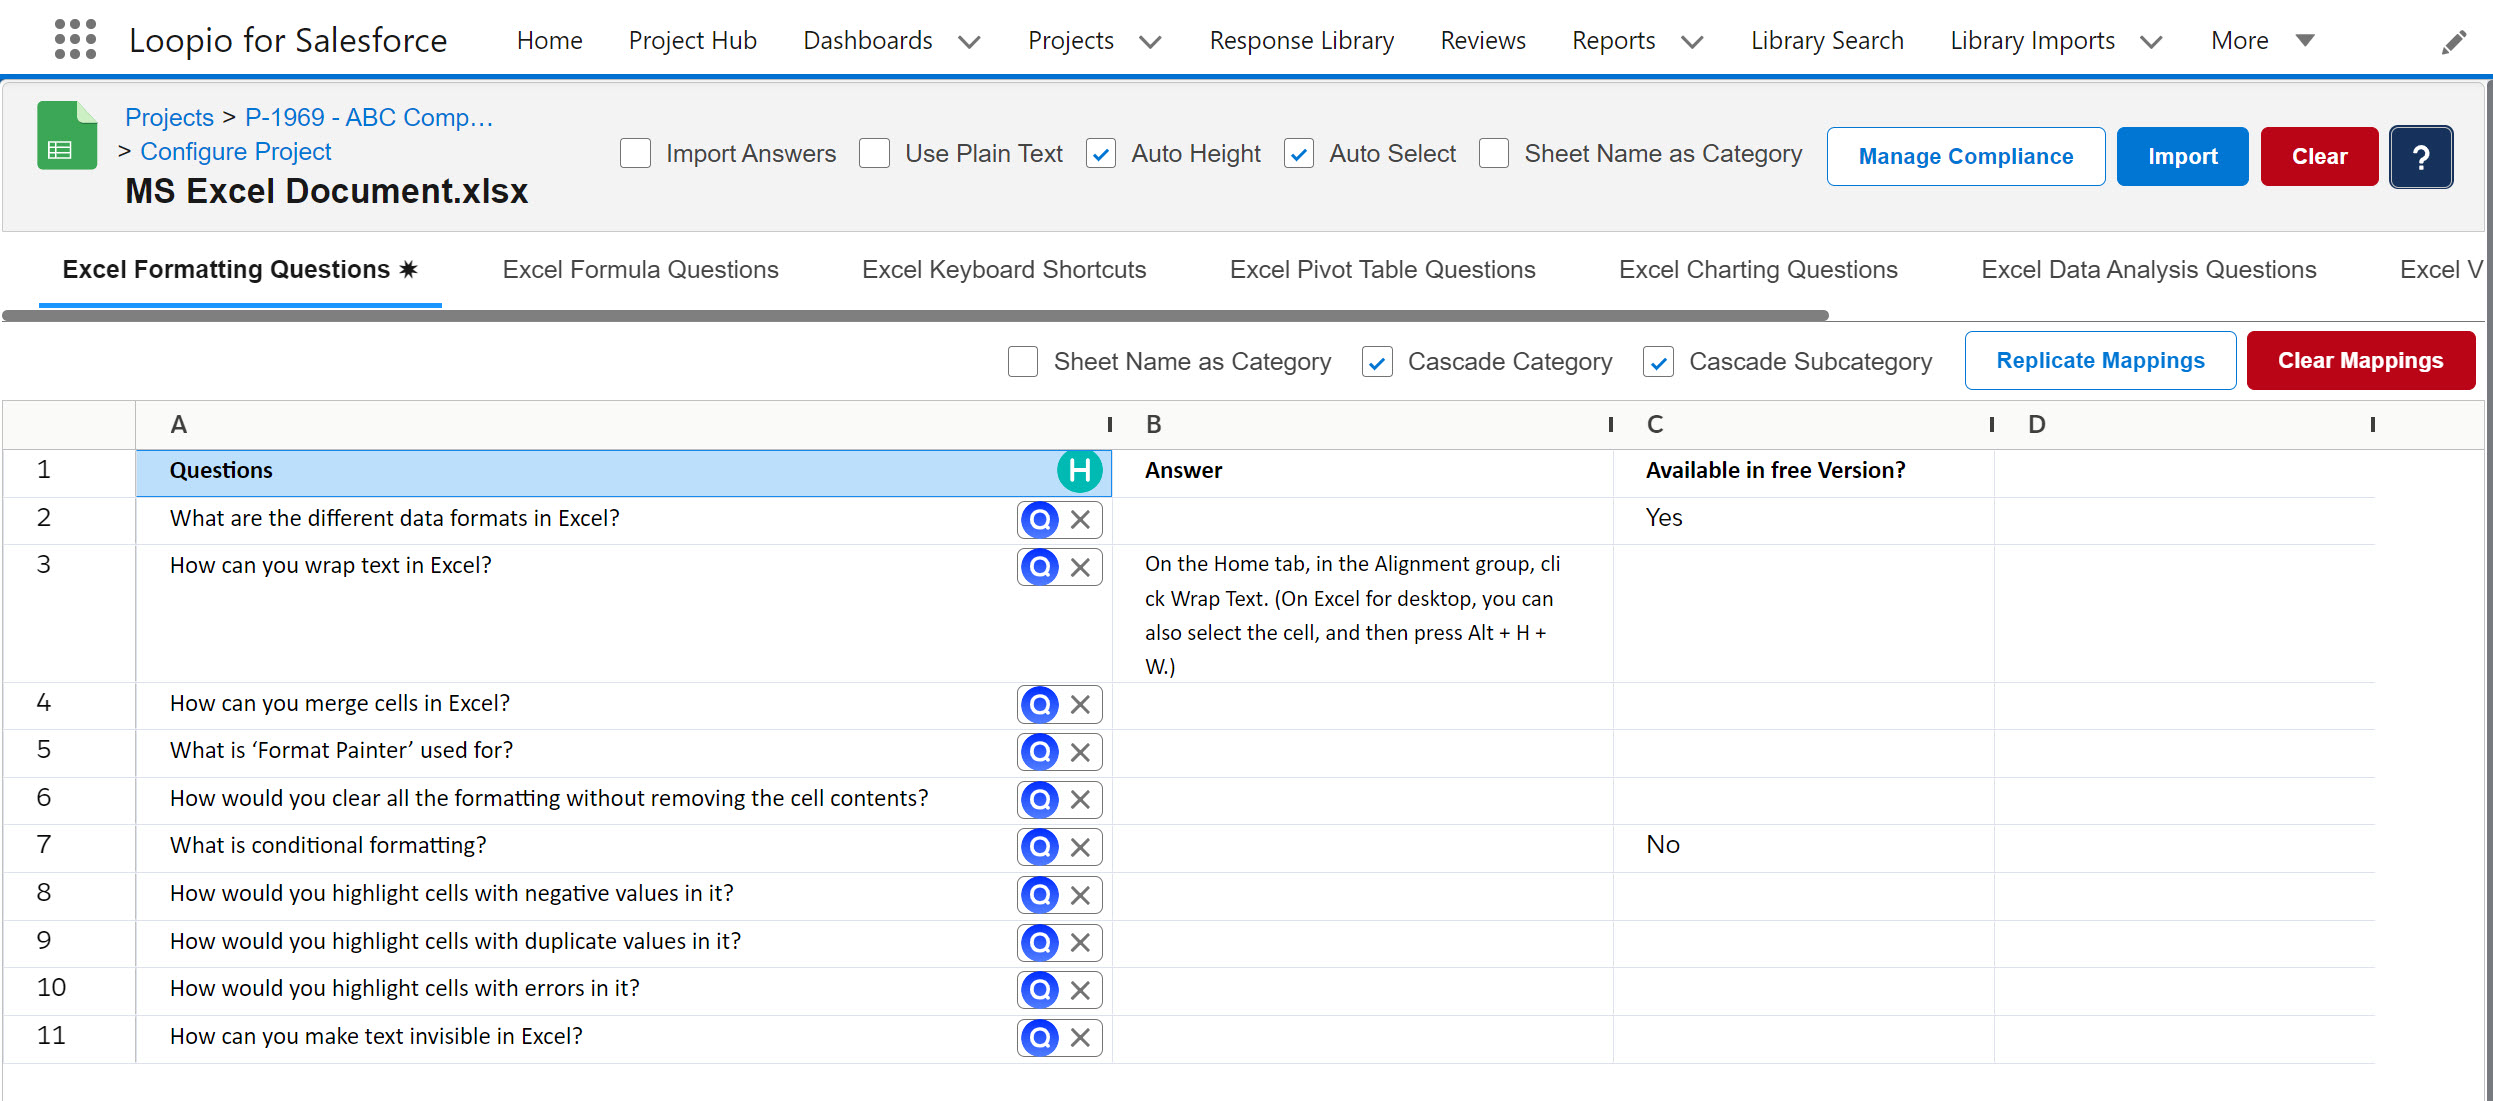
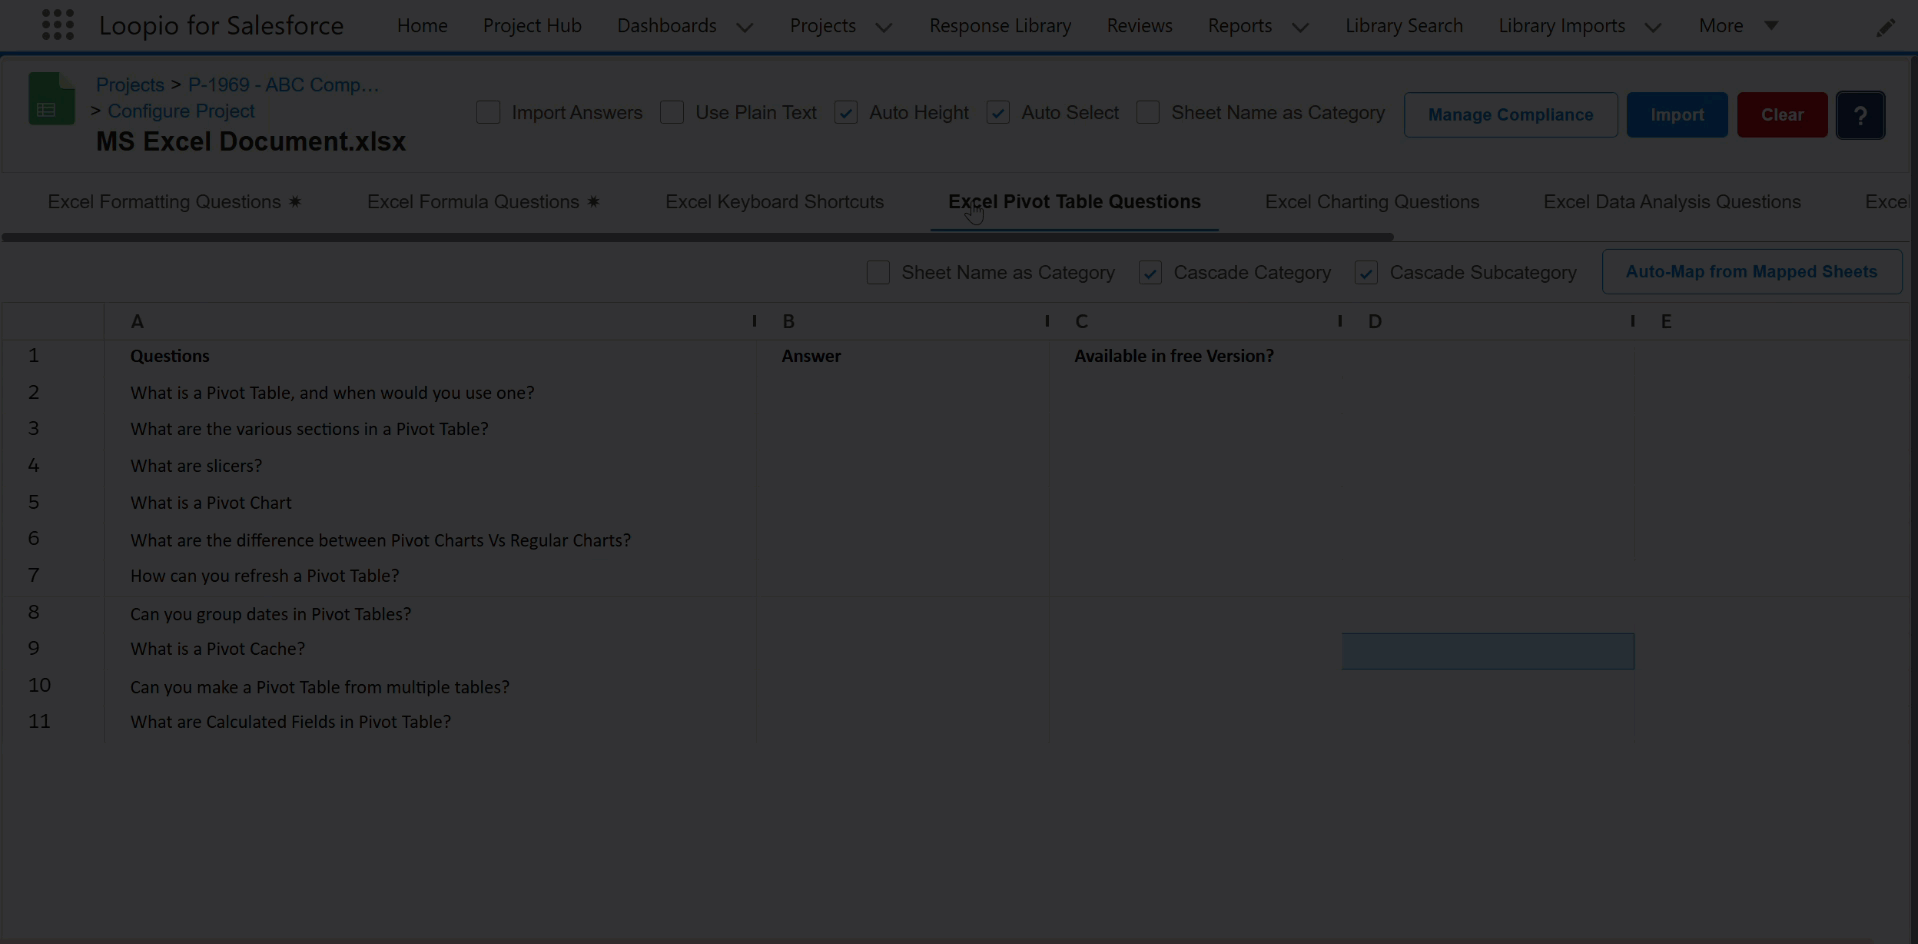
Auto Height | To resize cells in a worksheet automatically to fit long contents by wrapping the texts. 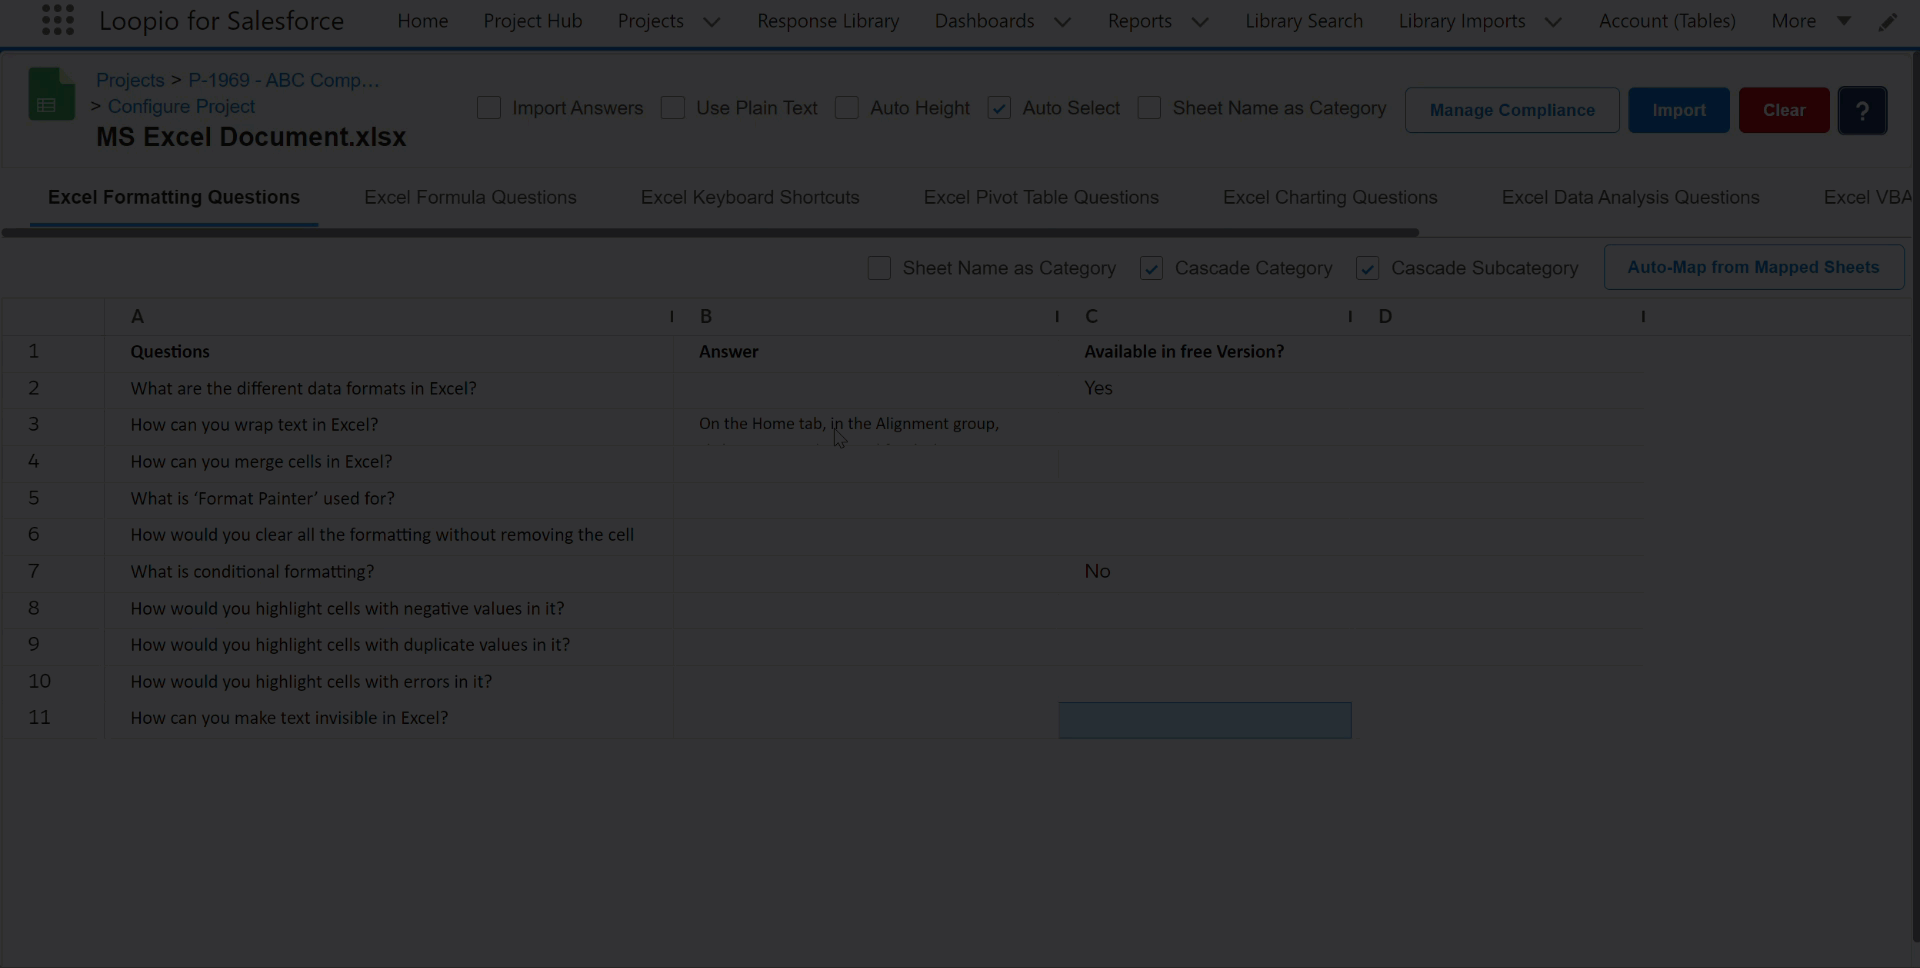 Click to enlarge |
Auto Select | To automatically apply the marked mapping to the remaining rows for the same columns within a sheet. It will auto-select the content to the very end of the same column. Anything above the selection will not be considered for auto-selection. 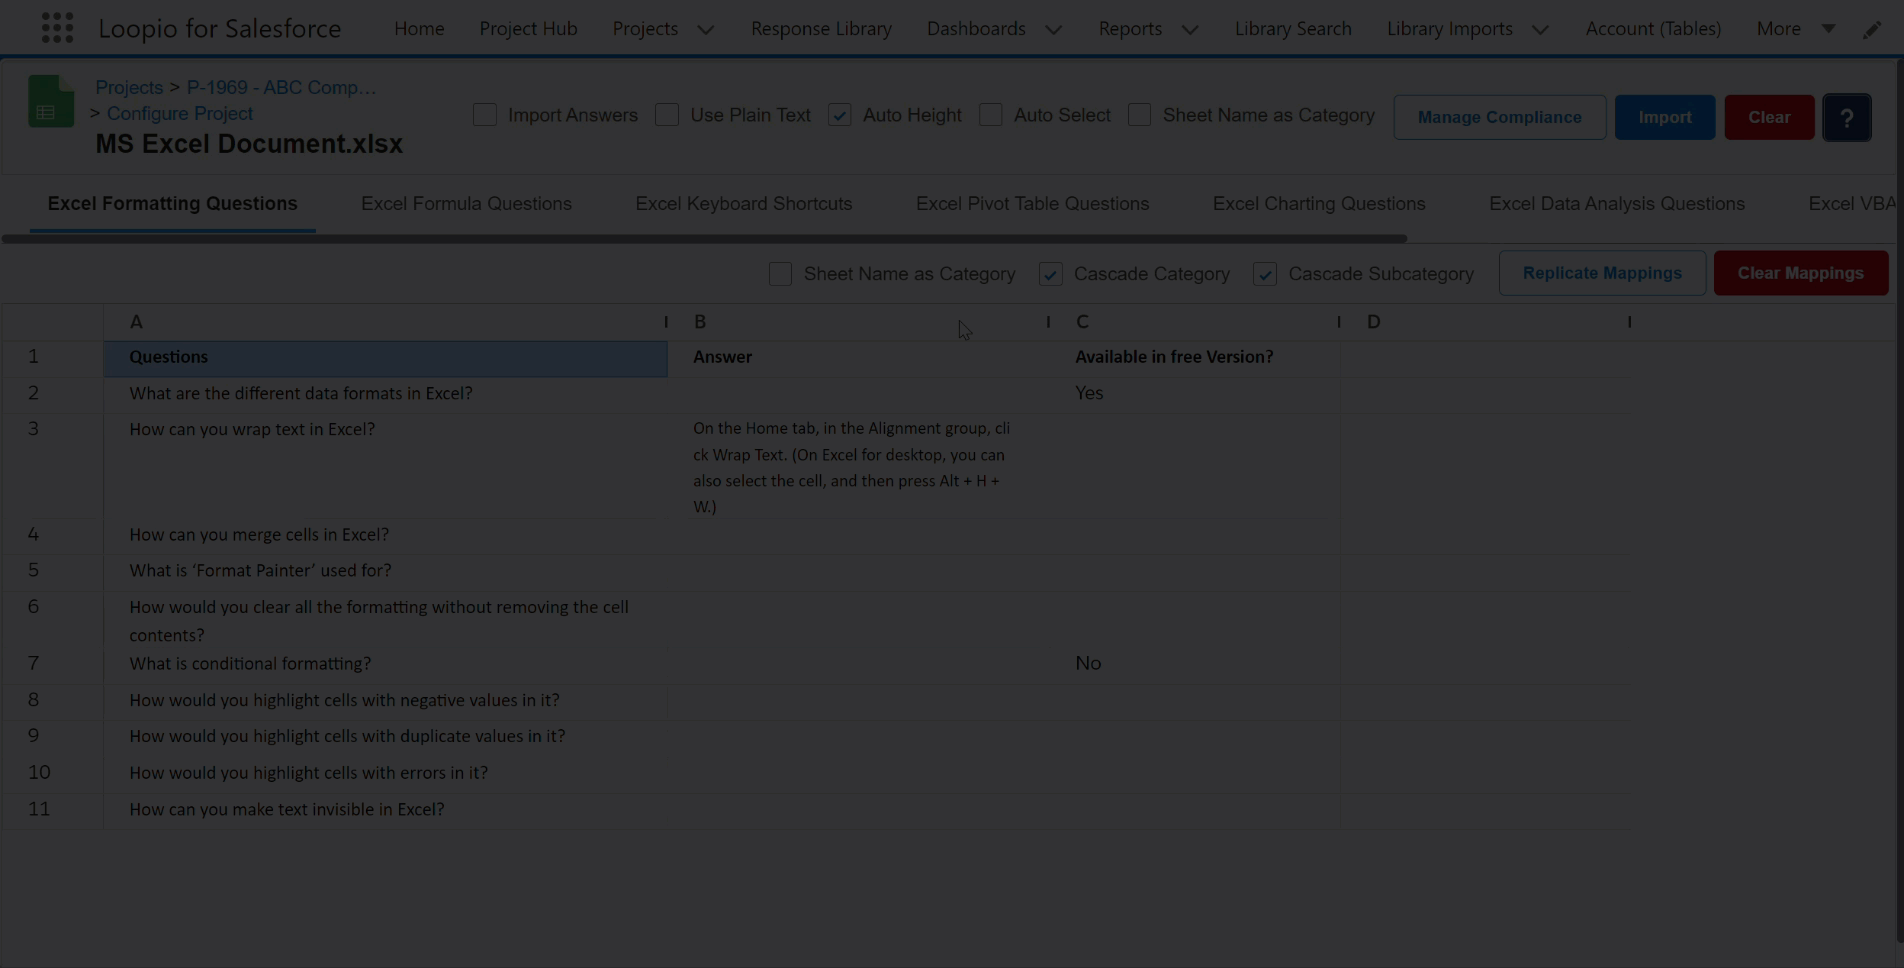 Click to enlarge |
Sheet Name as Category | To consider the sheet name as Category. This global setting will be applied to all of the sheets. You can also disable the global setting for a specific sheet by using the same setting available at the sheet level. If you have mapped any column or row as a category in any of the sheets and have this checkbox selected, this setting will override that, and the category marked at the sheet level will be ignored. |
Sheet Level Setting | |
Sheet Name as Category | To consider the sheet name a Category. This sheet level setting will be applied to the specific sheet. If you have mapped any column or row as a category in any of the sheets and have this checkbox selected, this setting will override that, and the category marked at the sheet level will be ignored. |
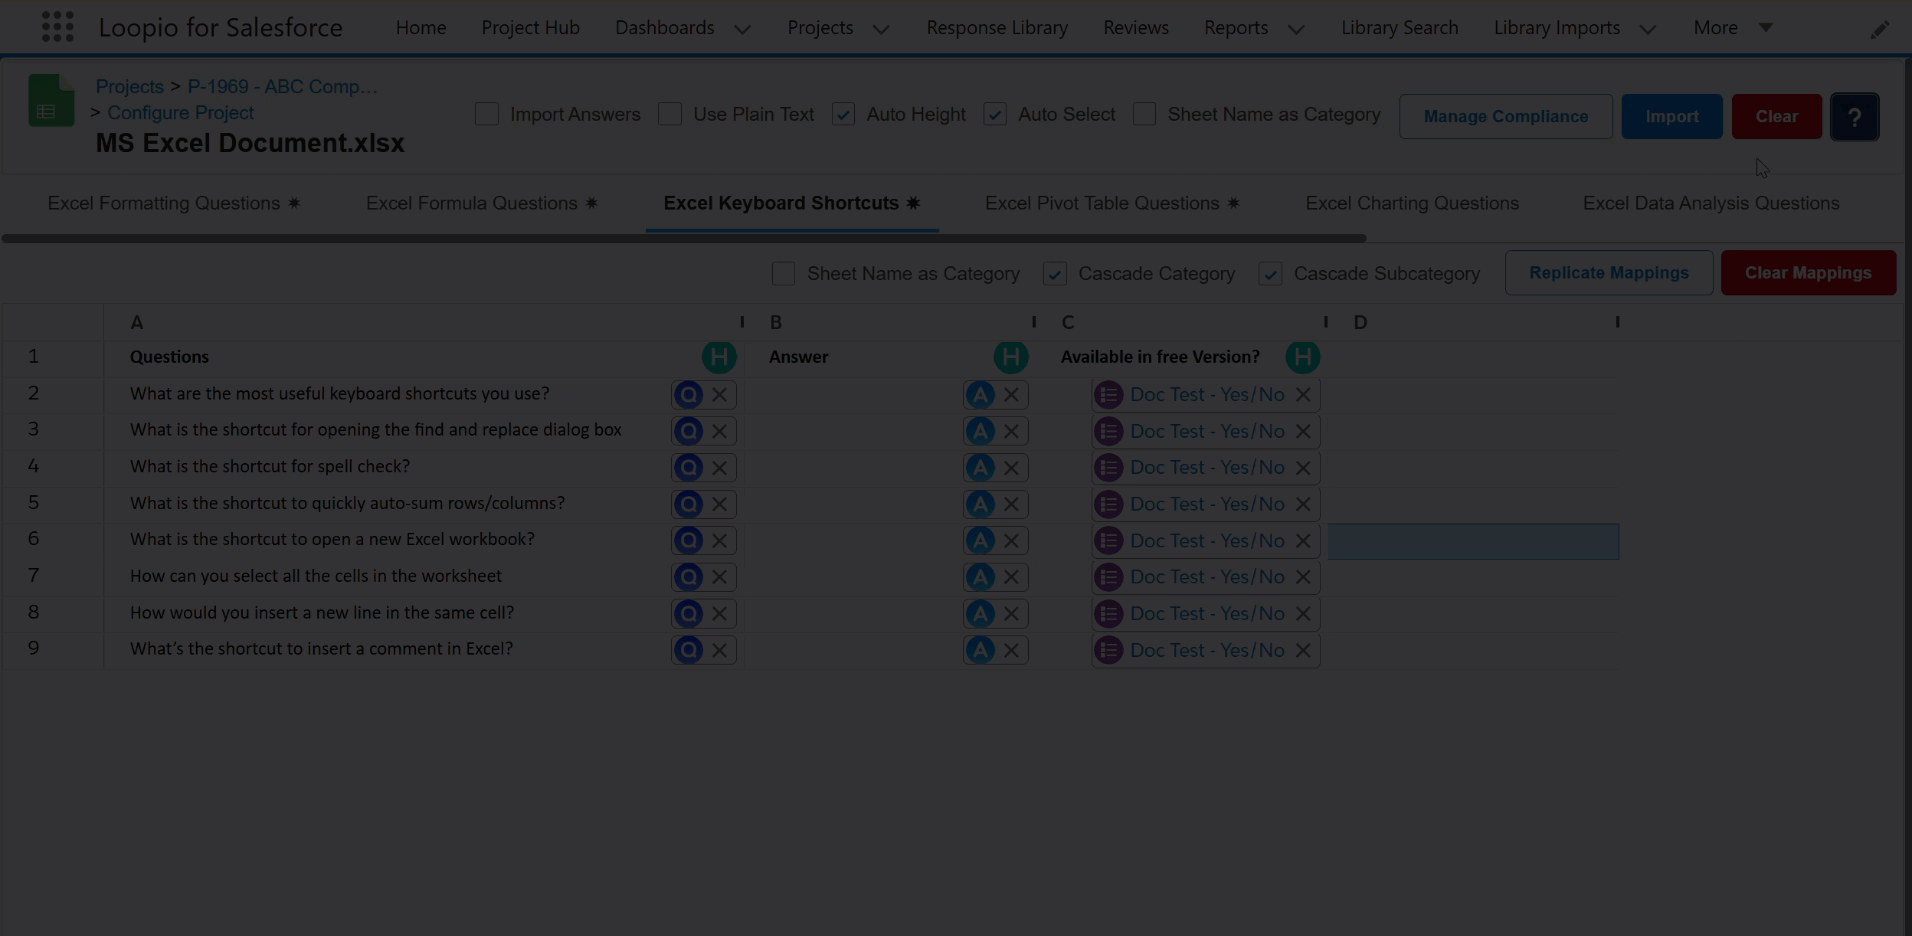
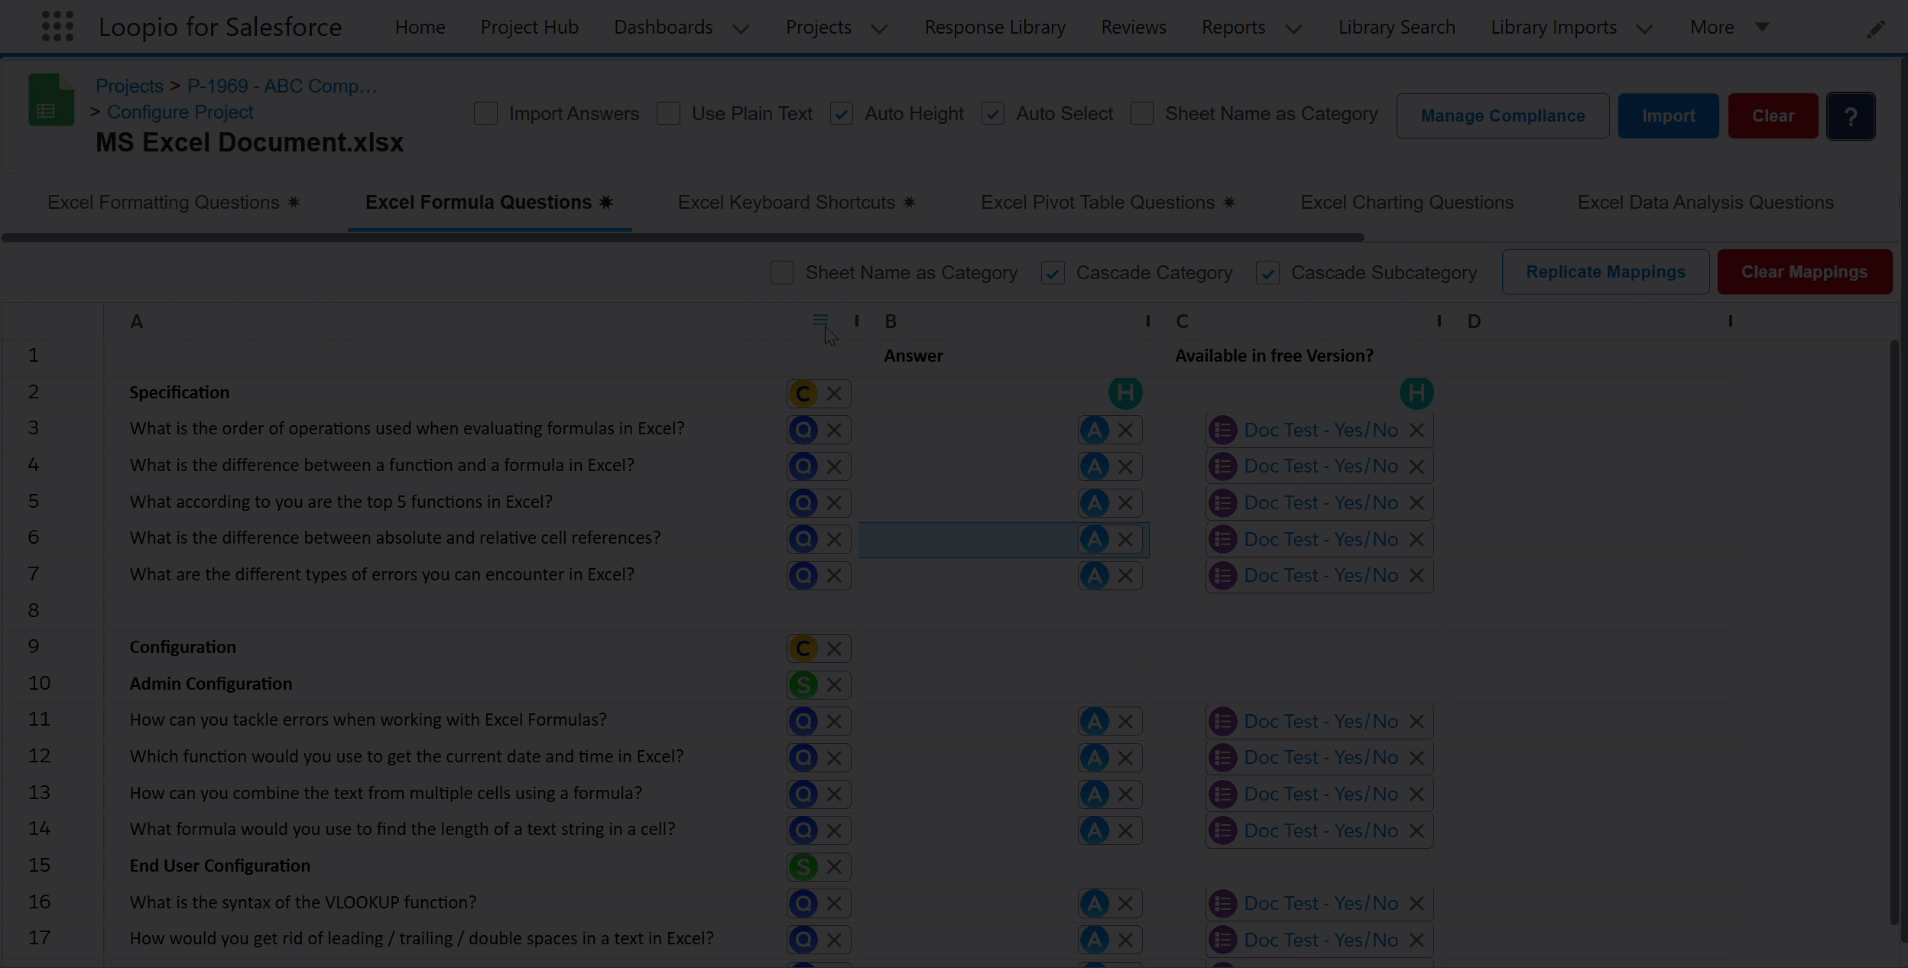
Cascade Category | To map the questions to the appropriate category. It is useful when you have several categories and questions in the same column. For example, suppose you have two categories with few questions in each. When enabled: When you map the categories and questions while importing the file, the questions will appear in the appropriate category. When disabled: Even if you mapped categories and questions while importing the file, the questions will appear as a separate question. |
Cascade Subcategory | To map the questions to the appropriate subcategory. It is useful when you have several categories, subcategories, and questions in the same column. For example, suppose you have two categories, each with two subcategories containing a few questions. When enabled: When you import the file and map the categories, subcategories, and questions, the questions will appear in the appropriate category > subcategory > questions. When disabled: Even if you mapped subcategories and questions during the import, the questions will appear in the appropriate category > questions. It will not consider subcategory mapping. |
Import Excel File Data
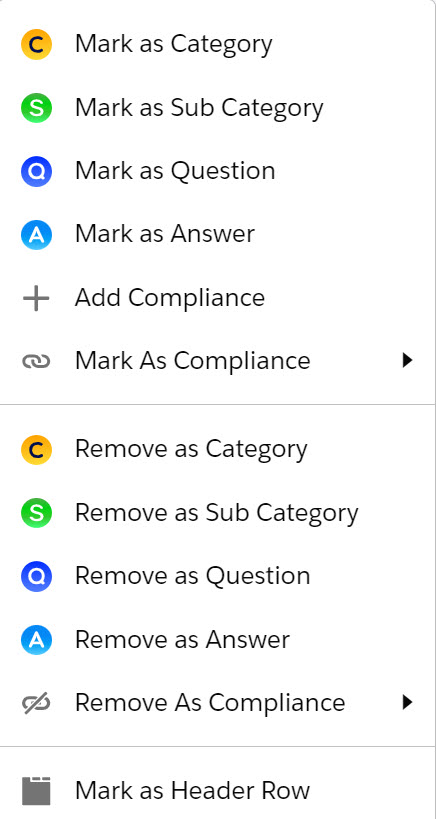
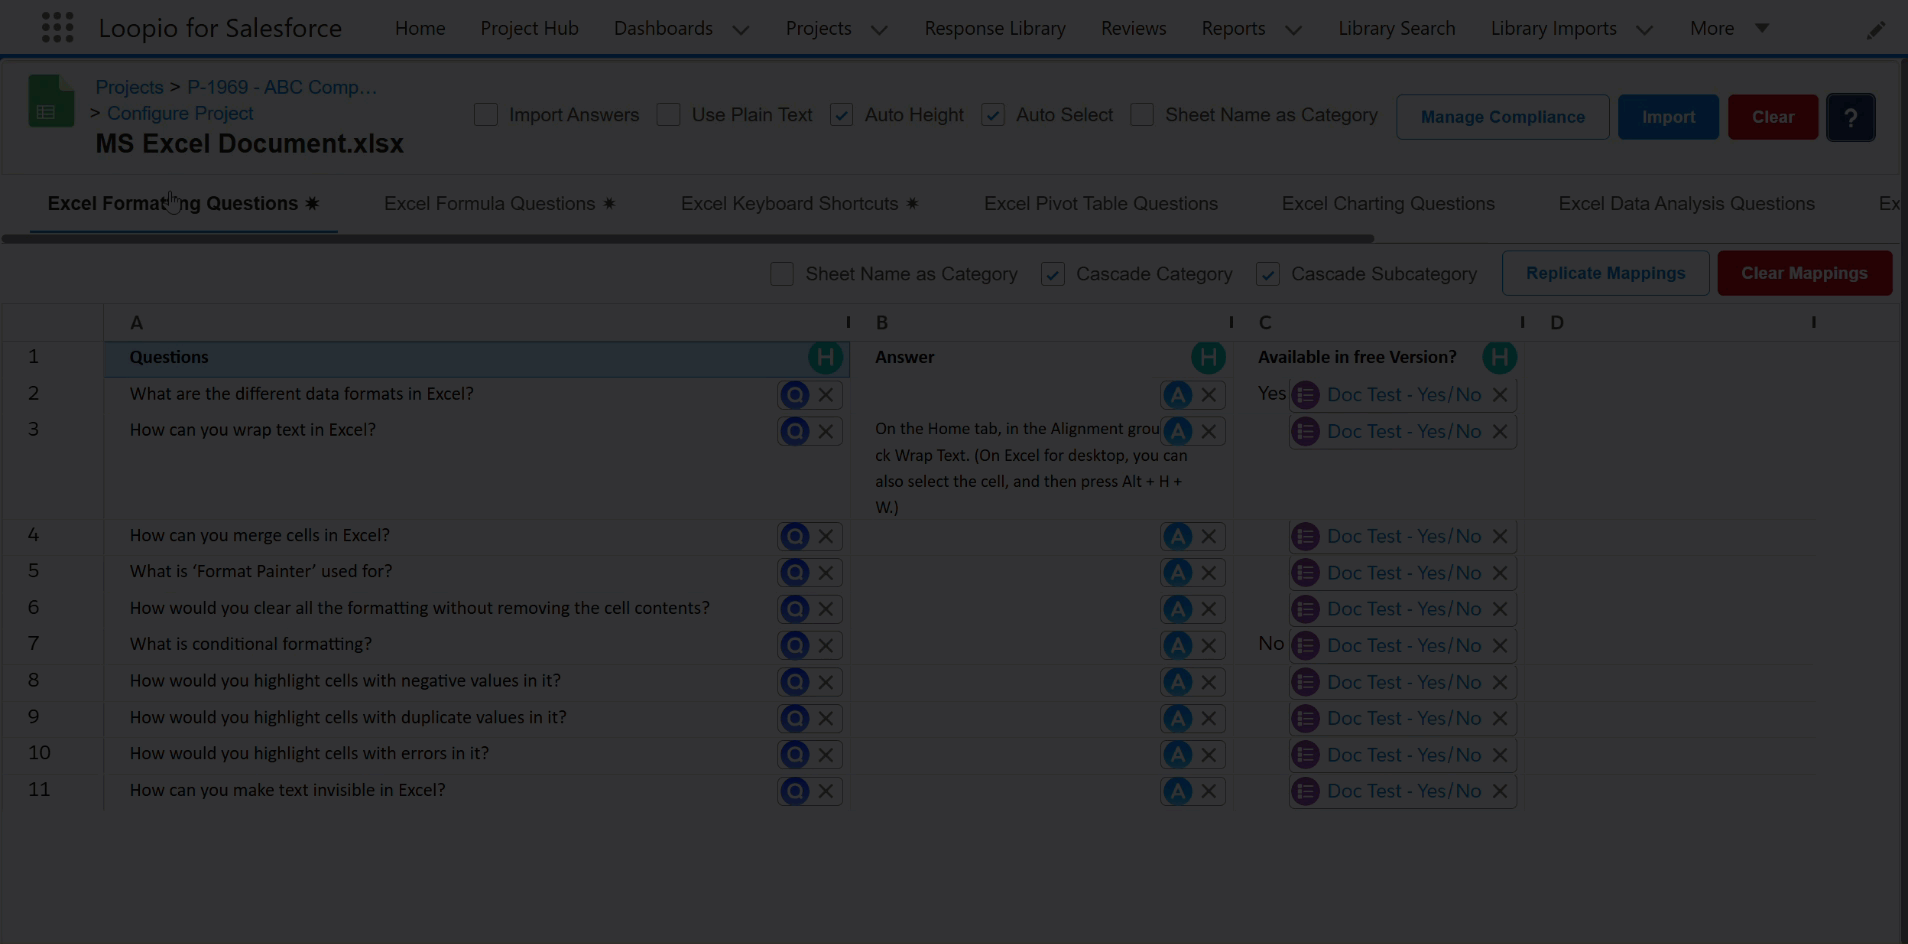
When you right-click on any of the selected cells, a pop-up menu appears, and you can map the selected cells to one of the options listed in the image below.
When you import the document into the Library (for response creation), you will see options called Mark As Response and Remove as Response instead of Mark As Answer and Remove as Answer respectively, and a new option called Mark As Tag (instead of Mark as Subcategory) which will allow you to add a tag along with the question and response.
If you have multiple (comma-separated) categories and tags for the particular question and/or answer pair, it will also be imported and tagged with the particular response created based on the request and also added to the Categories and Tags list for future use.
For more information, see Library Import Wizard.
Click to enlarge
Let’s take an example of how to import Categories and Questions. Similarly, you can import the Subcategory and Answer References.
Right-click on the cell to be imported as a category, then select the Mark as Category option from the pop-up menu. The content available in that cell will be marked as a category. The system will also auto-mark the same format cell in the same column as the category. The same applies to a subcategory, question, and answer reference.
You can also mark a particular row as a header row, by selecting the Mark as Header Row option from the pop-up menu, beneath which you can mark the rows as categories, questions, or answers. When you start marking something inside the sheet, the column header row with a different font becomes the header row by default.
If you have marked anything on the sheet, you will see an asterisk (*) next to the sheet name. This notation is useful when reconfiguring the data.
The Excel file has limited support for macros and formulas. The file will not import conditional values (dynamic values). For example, if you added a macro that fetches the value from a different cell or sheet, the cell where you added the macro will be imported with a blank value in the RFx project.
Refer to the images below for an example of the Category, Subcategory, Question, and Answer Reference import processes.
Category and Subcategory
Click to enlarge
Question
Click to enlarge
Answer Reference
Along with the Category, Subcategory, and Question, you can also pick up answer references. It will be imported in place of Answer. As a result, we can have context for how the question is supposed to be answered, and the assignee can modify it during the project life cycle.
For Answer Reference, if you import actual answer or mark it as compliance, the respective question will be displayed in Draft status when you review it
Right-click on the cell to be imported as an answer reference, then select the Mark as Answer option from the pop-up menu to mark the answer to a specific question as an Answer.
The answer reference will be replaced by the actual answer at the time of generation.
Click to enlarge
Compliance Reference
Along with the Category, Subcategory, Question, and Answer, you can also pick up compliance references. It will be imported as per the compliance (for example: textbox, picklist, checkbox, etc.).
Right-click on the cell to be imported as a compliance reference, then select Mark as Compliance > Select the appropriate compliance option from the pop-up menu.
For more information on how to configure compliance, see Manage Compliances.
Click to enlarge
For Compliance Reference, if you import actual compliance or mark it as compliance, the respective question will be displayed in Draft status when you review it.
Auto-Map from Mapped Sheets
Click the Auto-Map from Mapped Sheets button to auto-map the sheet formatting from the previously mapped sheet. Based on the mapped formatting of the other sheets, it will auto-map the current sheet's category, subcategory, question, and answer.
Click to enlarge
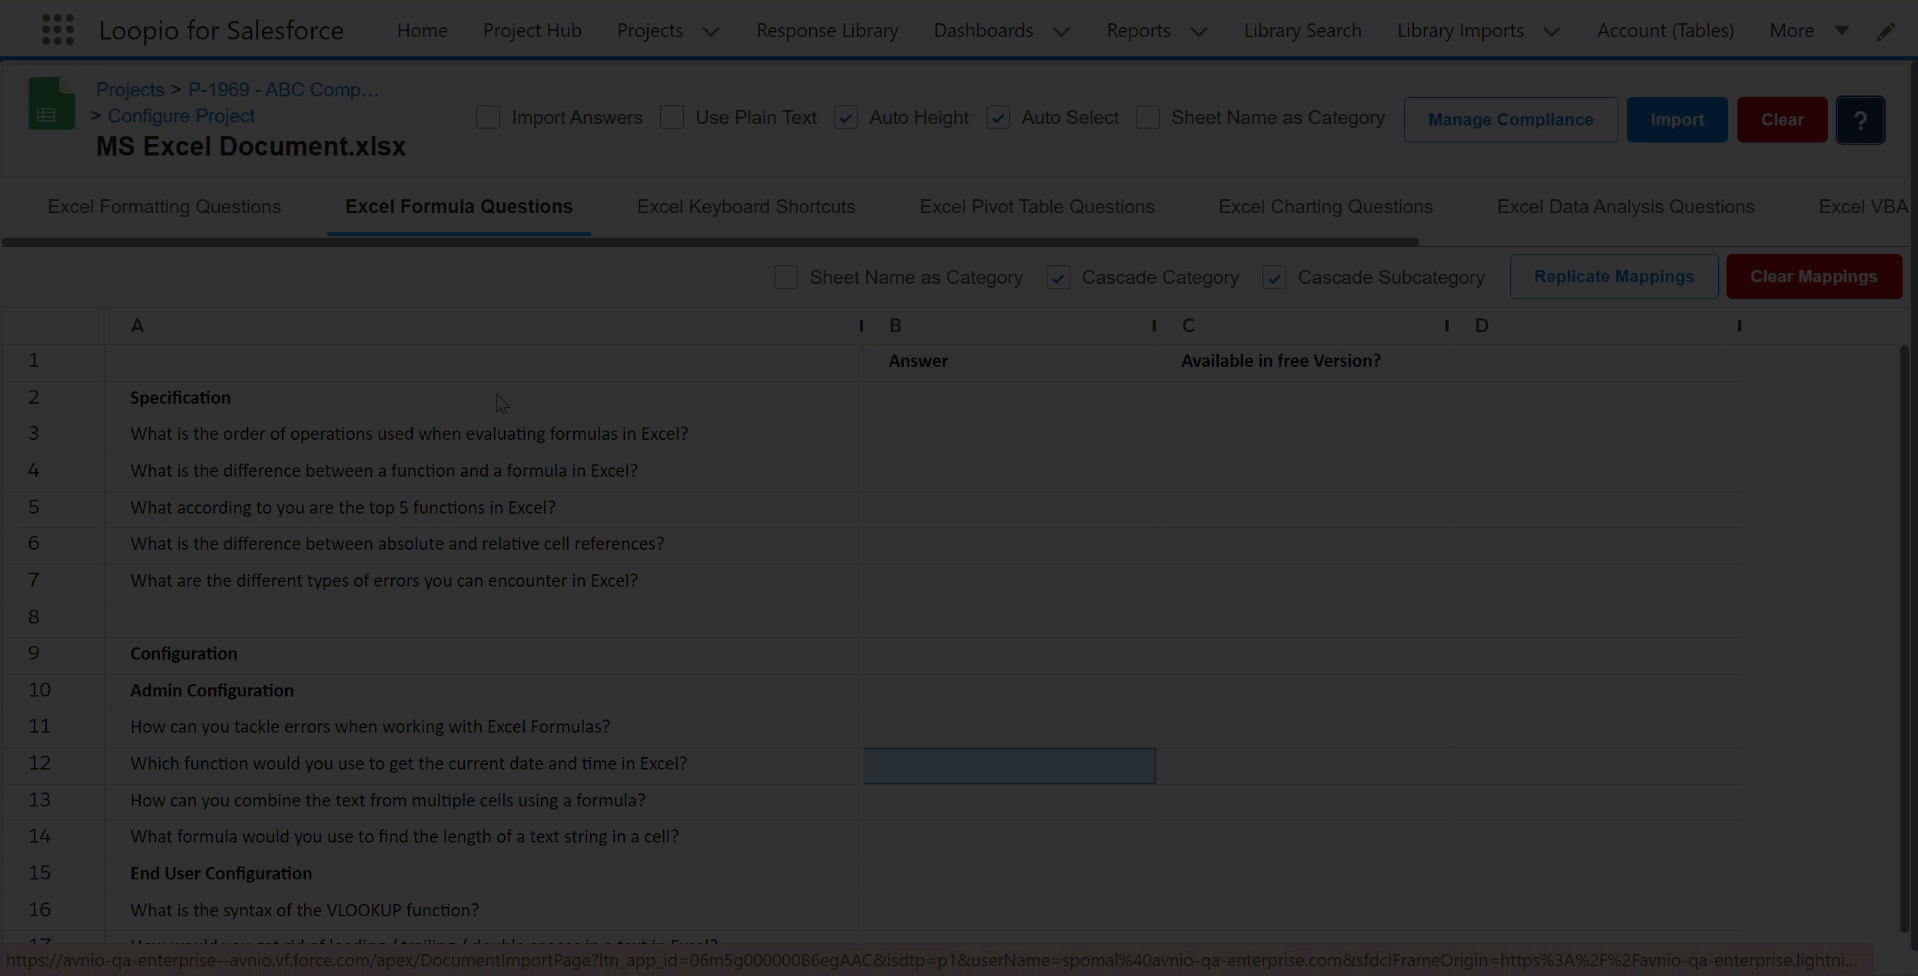
Replicate Mapping
Click the Replicate Mapping button to replicate the current mapping to other sheets. Based on the current sheet's mapped formatting, it will replicate the category, subcategory, question, and answer mapping to the selected sheet(s). There is an option to clear the existing mapping in the selected sheet before applying the new mapping.
Click to enlarge
Clear Mapping
There are the following three options to clear the mapping:
Click the Clear button in the top-right corner of the screen to clear the entire mapping of all the sheets available in the file.
Click the Clear Mapping button available at the sheet level to clear any specific sheet’s mapping.
Right-click on any of the selected cells and select the appropriate option to clear a few selected cells' mapping. If you only clear the question mapping, the mapping for all selected rows will be cleared.
Click the Cross icon to clear any specific cell’s mapping. If you only clear the question mapping, the mapping for the same row will be cleared.
Click to enlarge
Reconfigure File
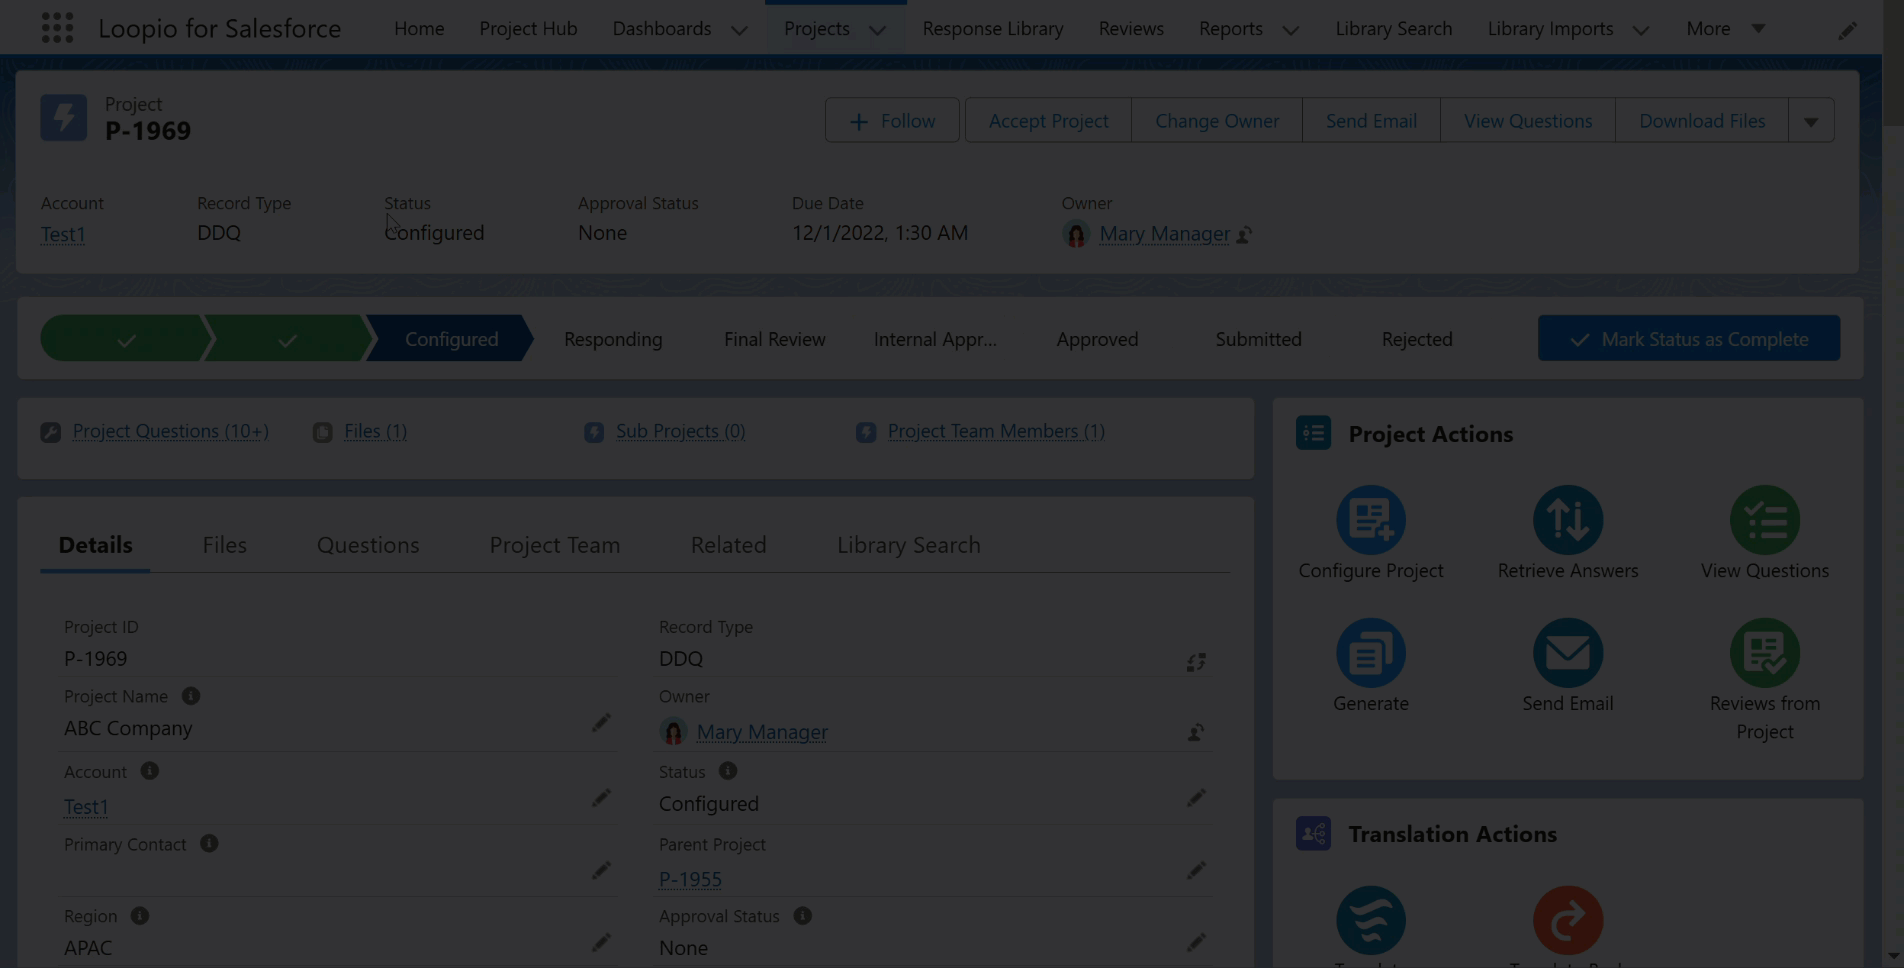
Even after you have imported a file, you can always come back to it and add or change the questions, answers, categories, and so on. When you reconfigure the file, the system will recall your previous mapping. Anything that has already been mapped and imported does not need to be reconfigured if you return to finish the remaining mapping.
When you reconfigure the same Excel document, the application retains the Import Answer, Use Plain Text, Auto Height, and Auto Select settings you selected while importing the document. For more information on Excel file settings, click here.
For example, you have a file with many sheets with a lot of categories, subcategories, and questions. If you finished 60% of the mapping today and want to finish the rest tomorrow, you can again import the same file and reconfigure the remaining 40% of the content tomorrow.
Click to enlarge
Filter Sheet Data
Filtering helps in displaying relevant data by temporarily removing irrelevant entries from the view. The data is filtered based on the criteria specified. The purpose of filtering is to focus on the most important sections of a sheet. For example, an organization's city-wise sales data can be filtered by location. As a result, the user can view the sales of specific cities at a given time.
Click to enlarge
Support Password Protected File
You can configure the password protected Excel file on the Project Actions > Configure Project page. After uploading the password-protected Excel file, click the Configure Project button and select Next. The system will prompt you to enter the file password in the box. Enter the required password and click Submit.
Password protection protects your file from unauthorized users and ensures that security is not compromised, allowing only those who know the password (authorized users) to read or access critical information within the file.
Click to enlarge